I recently developed two rolls of film I had worked on a few months ago using different experimental methods. Not everything turned out the way I wanted it to but I still learned a lot along the way. 35mm film has really been a fun medium to explore and distort.
The first one was done on Lomochrome Purple and used what I call Method 1. This method hand-fogs the film to create different colors. Only a few frames ended up being usable as the effects were a bit heavier than I intended. The remaining frames had a variety of purple and turquoise colors mixed in
The second experiment was in double exposure. I first shot the roll against different color effects, partially wound it back up, then loaded it back in the camera to use as normal. I had issues before doing this with the frames not aligning, but this time I was able to nail it.
If anyone is interested in some experimental film, reach out! I have a couple other versions I’ve been working on and I feel that they’re out of the alpha stage and can roll into more beta testing.
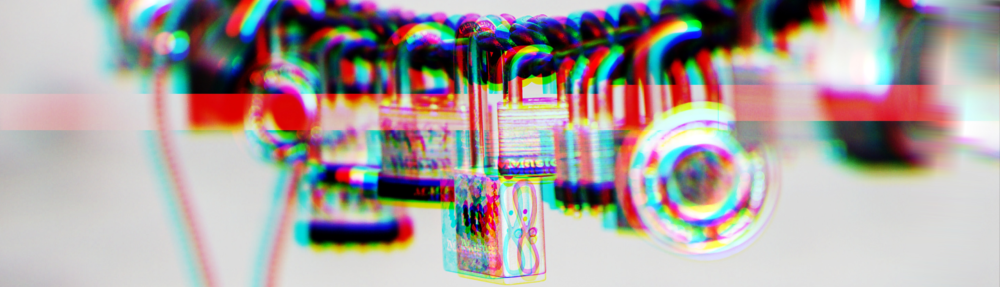
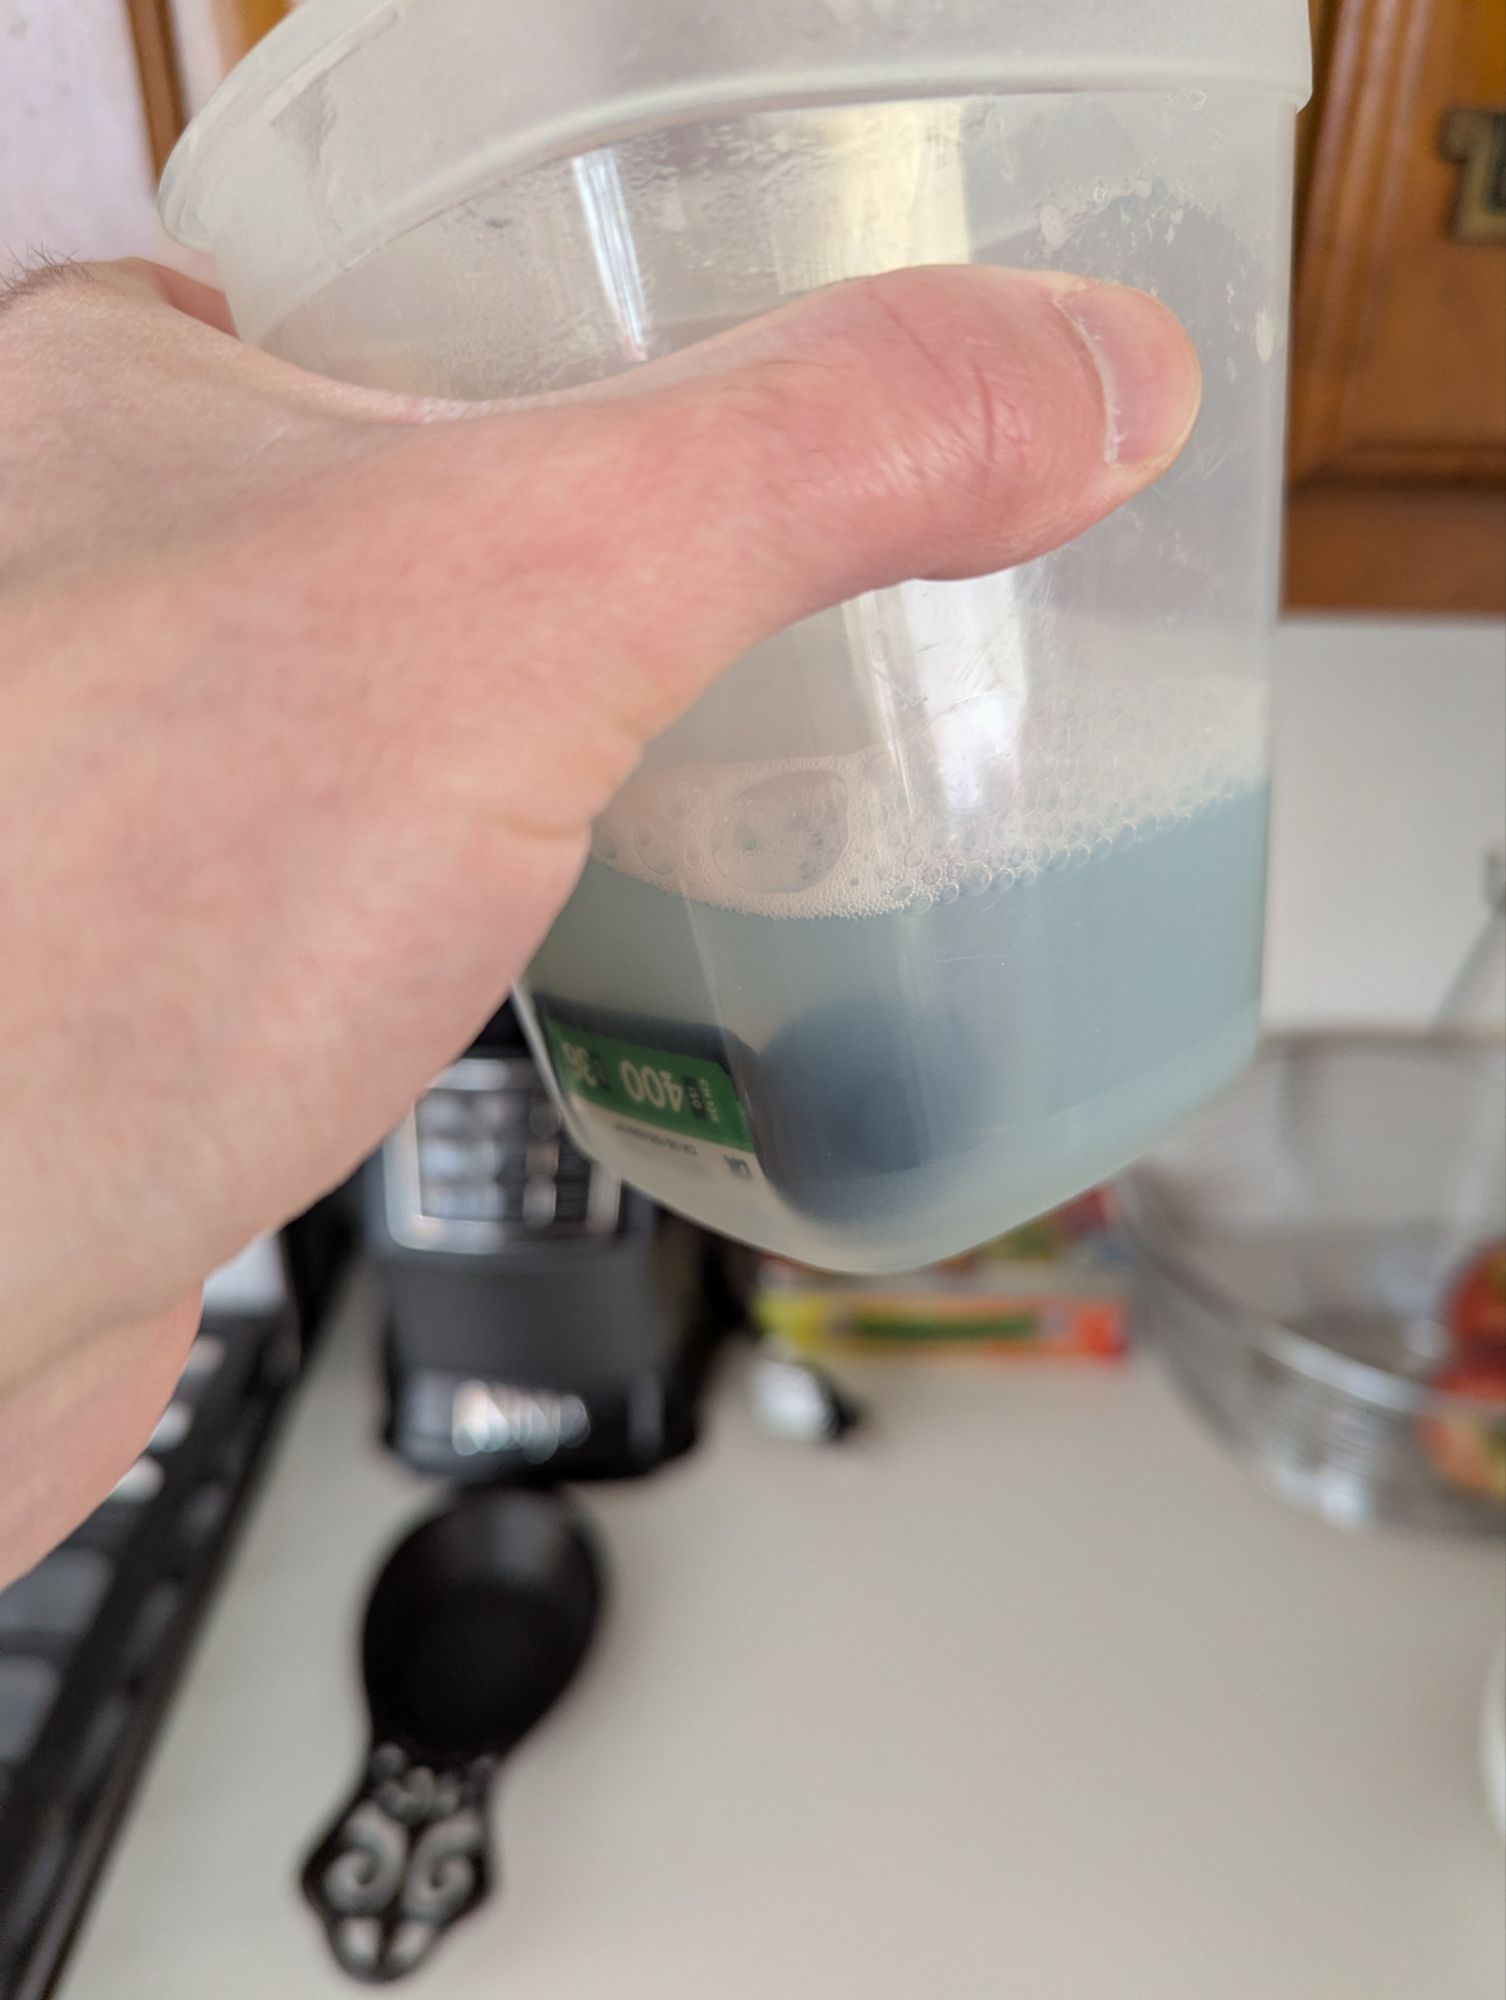
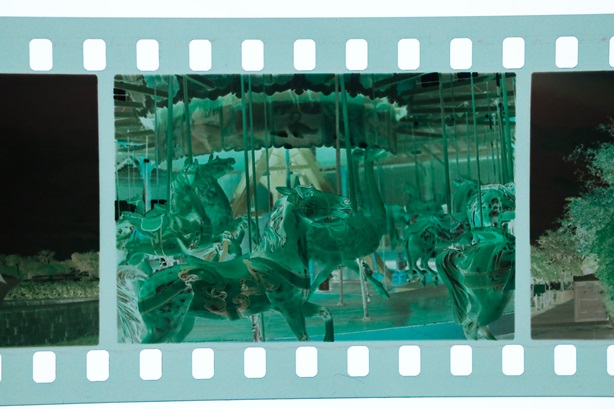
Gave my first go at film souping now that I’m developing all my film at home. Film souping is when film gets mixed with harsh chemicals to cause discoloration and other effects. There’s a bunch of recipes for it online and I decided to go with dish soup and lime juice. I mixed these up and placed the film in the solution for several hours.
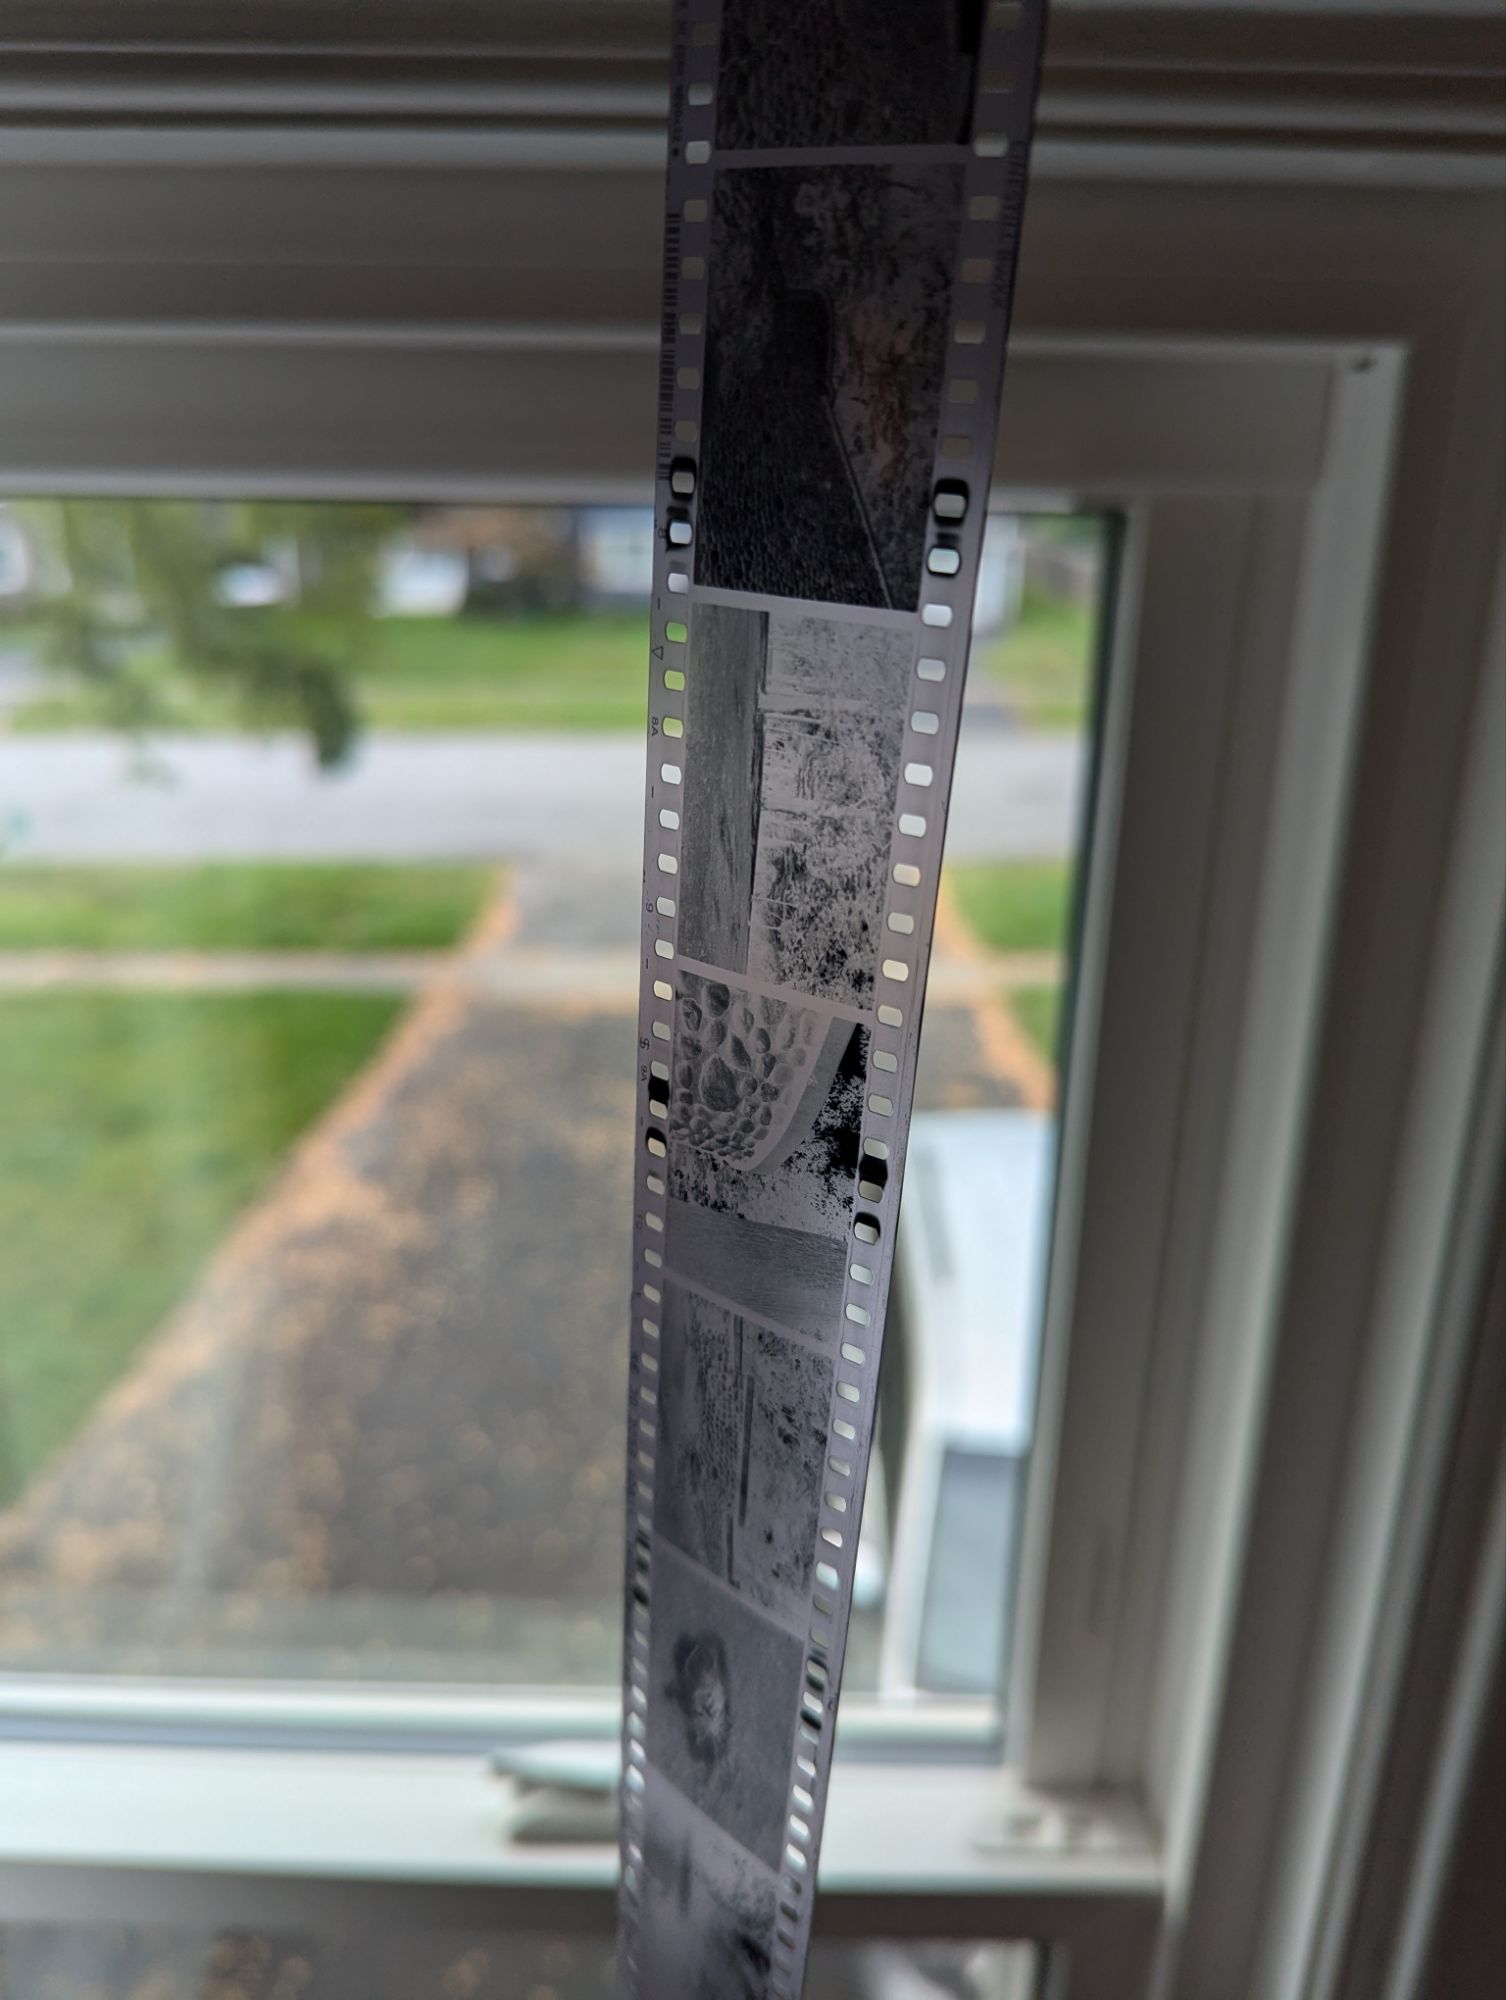
It’s important to note that with film soup, don’t send it to a lab to process without asking first. This is because a souped film can ruin chemistry and affect the development of other people’s rolls. One of the things I saw mentioned was to boil the water first, in hindsight this was a bad idea. I didn’t let the water cool down enough and it made the film incredibly thin. I noticed this as I was unspooling the film to develop it.
The results still turned out really cool. Plenty of color swirls but the heat did ruin the underlying film a bit so the original colors are way off.
I plan on doing more film soup experiments with the next batch of chemistry I mix up!
Be sure to check out my store for prints of my other film adventures.
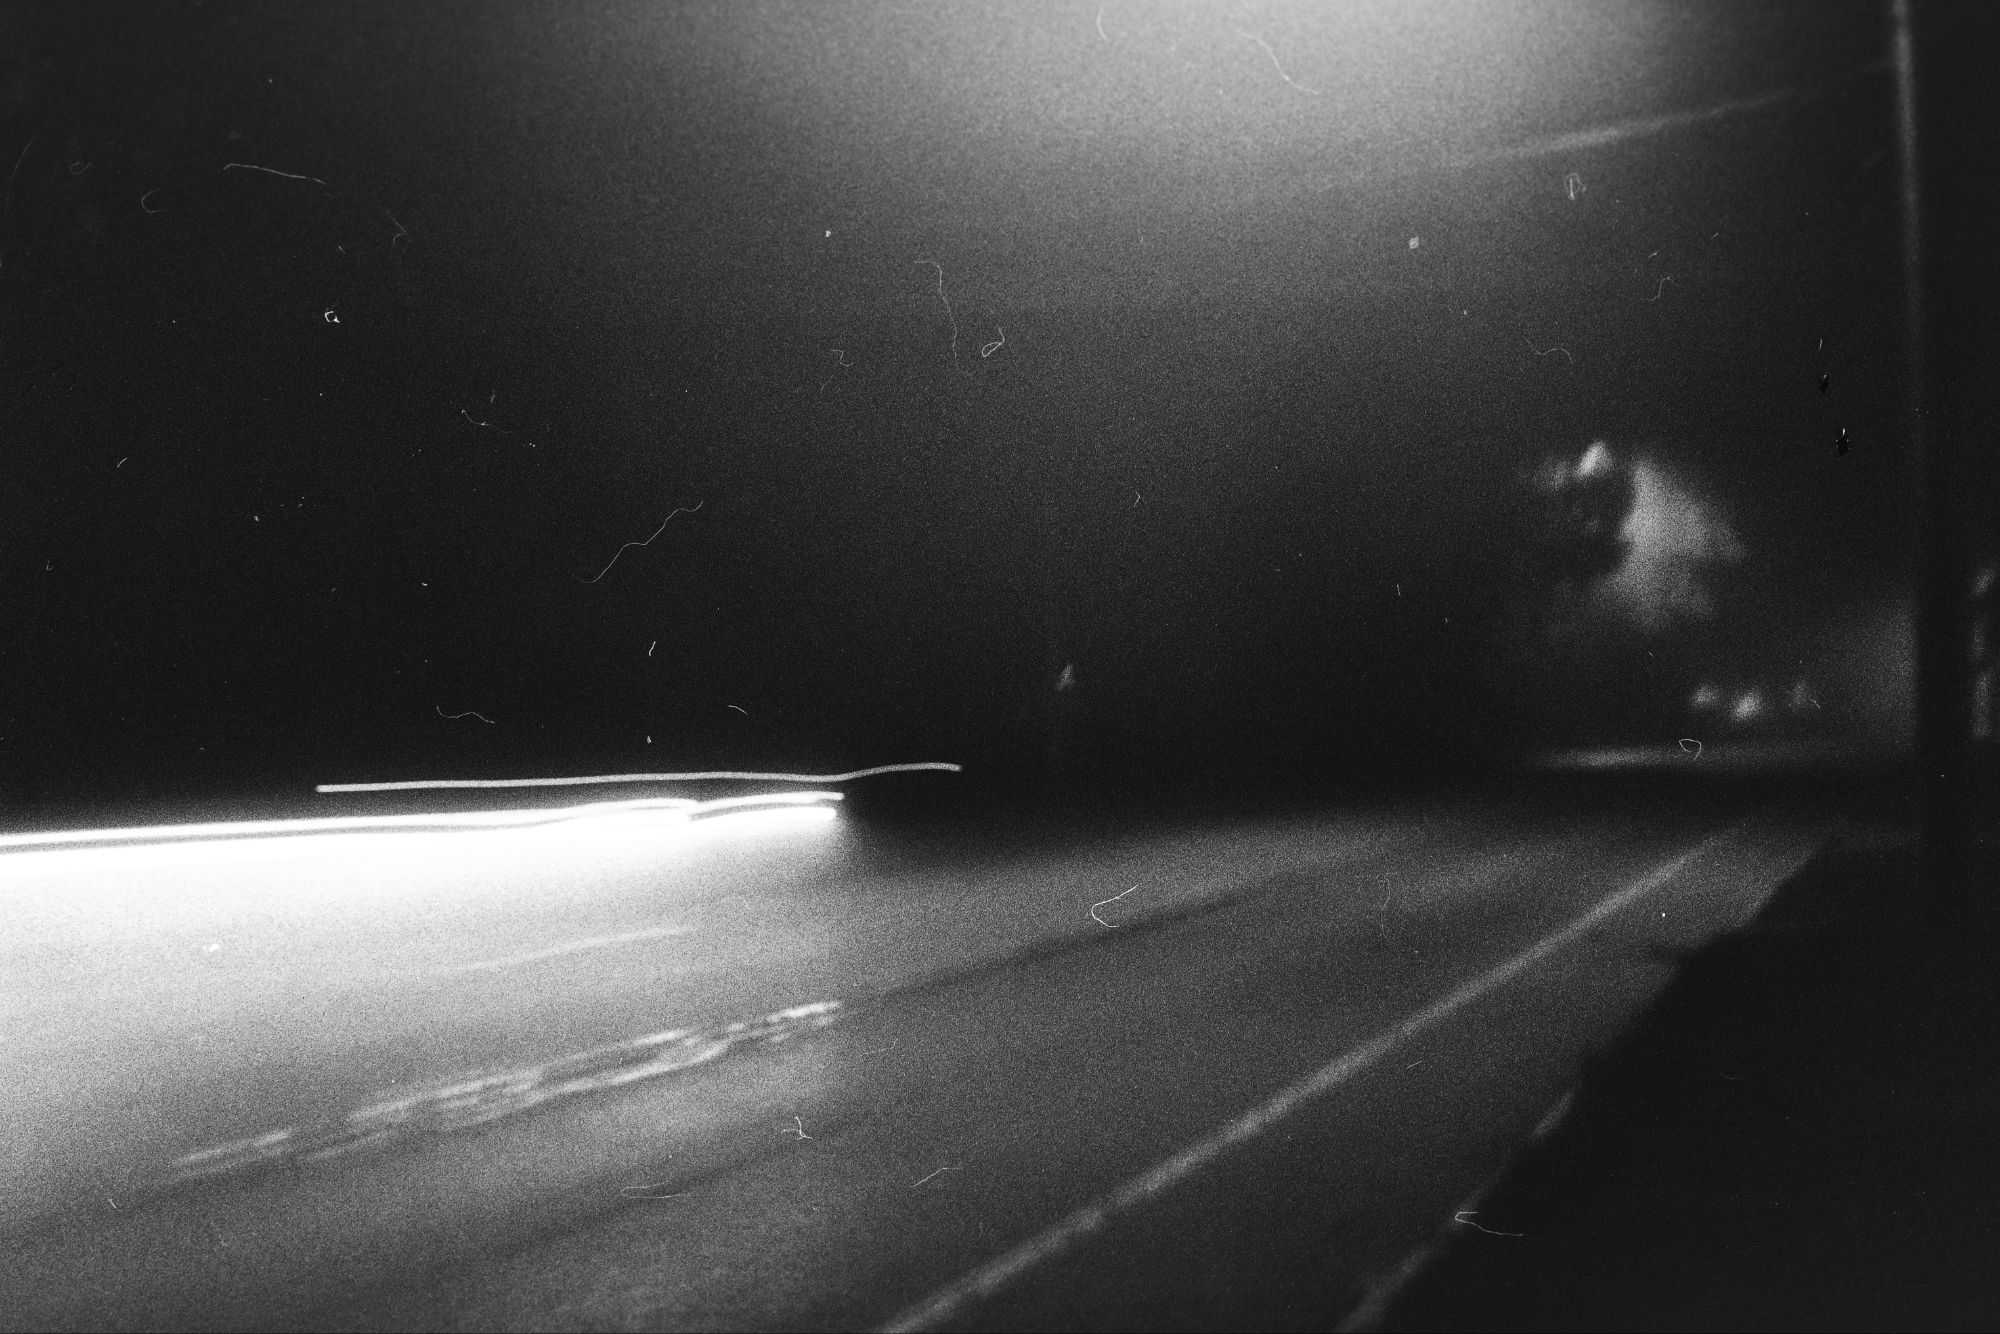
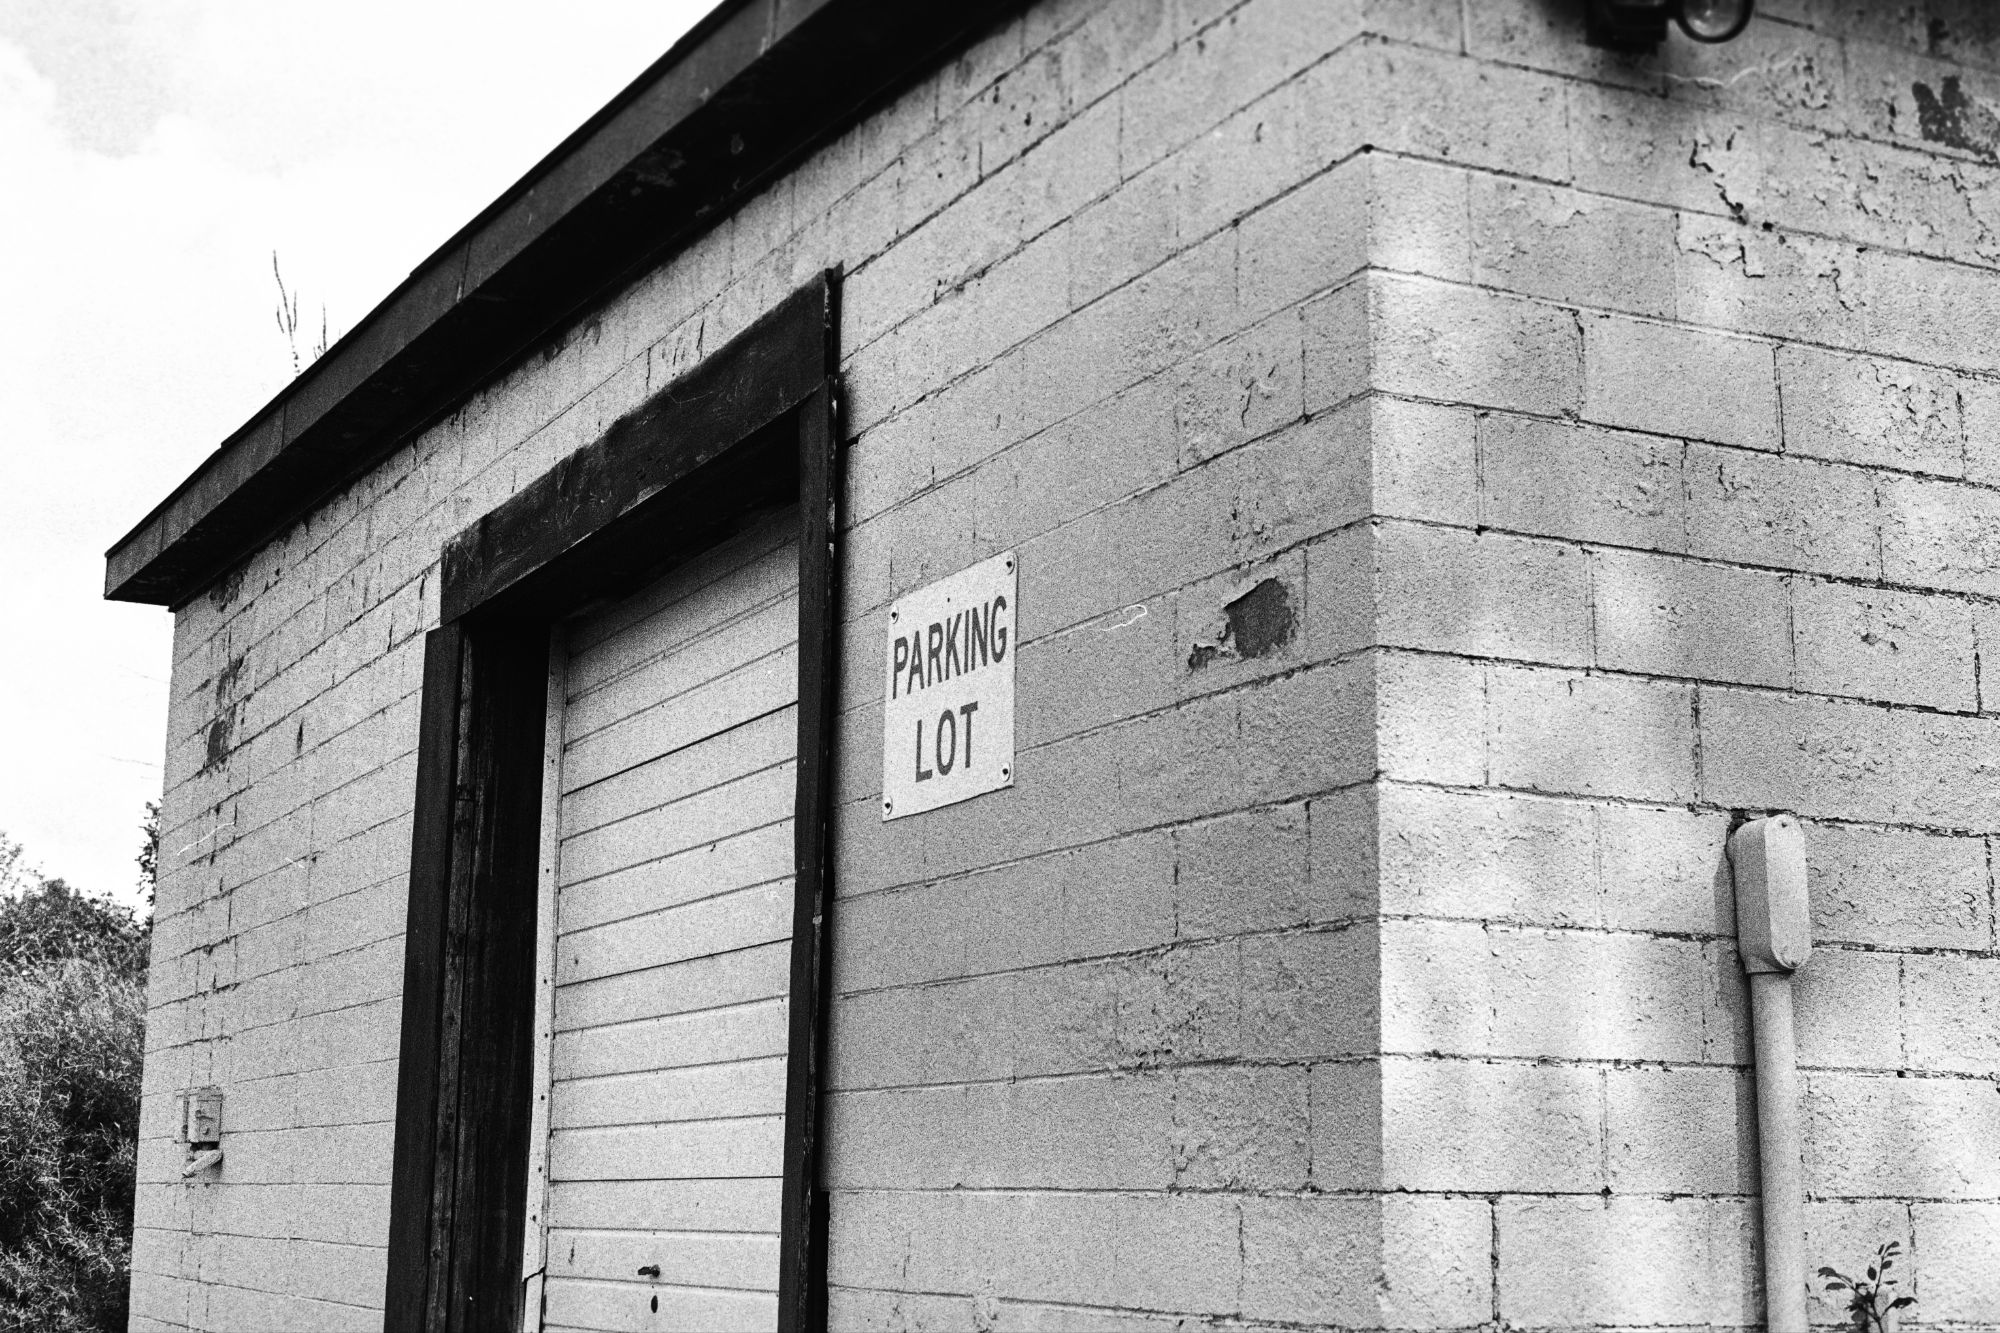
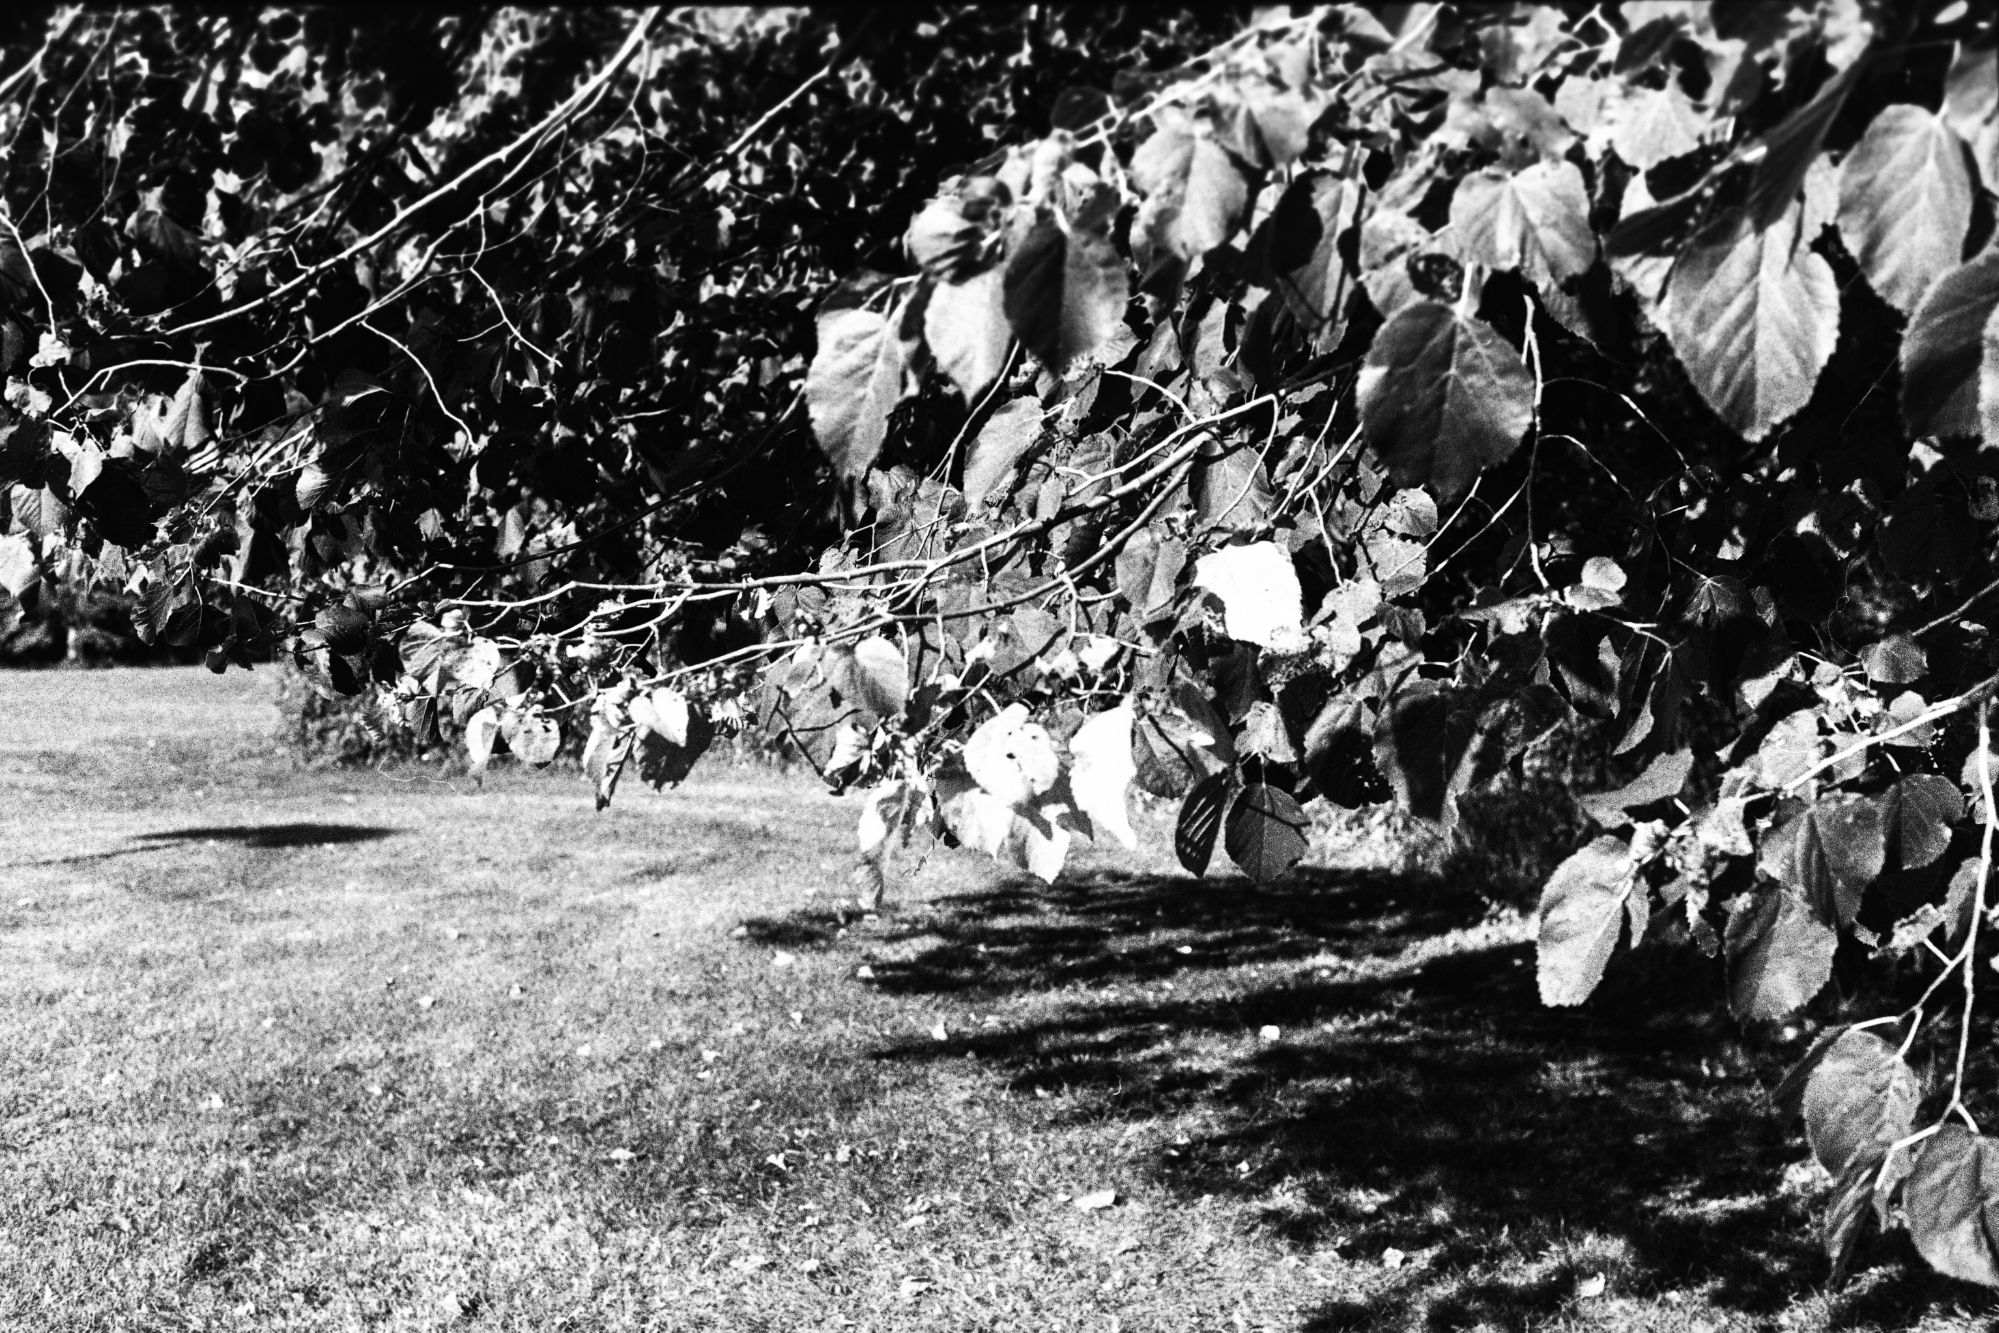
When I got back into analog film, I explored the option of developing at home but was fortunate enough to find a local lab that develops color film at a good price. I marked it down as a TODO for later when I wanted save costs if I was developing film at high enough volume.
When I went to get the first roll of black and white film developed, I was shocked that the cost was three times that of getting color developed! After looking up the available options; to get all the supplies needed to develop BW film at home would only cost the equivalent of getting 5 rolls developed and that price would drop over time. I ordered the JOBO Mono kit from Cinestill and picked up other supplies off Amazon.
After watching some Youtube videos, the process was really straight forward. BW film is more tolerant to temperature changes of the chemistry compared to color. The part I was worried about the most was removing the film from the canister and spooling it on the reel in the dark bag so I practiced a bunch with a spoiled roll of film.
From beginning to end; gathering all the supplies, getting the chemistry to temperature, prepping the film, and doing the developing only took about 30 minutes. I do have a couple things to improve after this first attempt but overall I’m really happy with how it turned out.
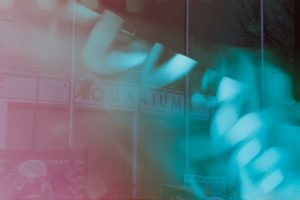
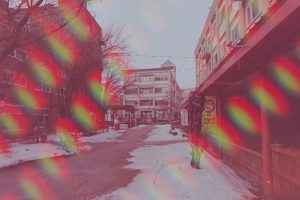
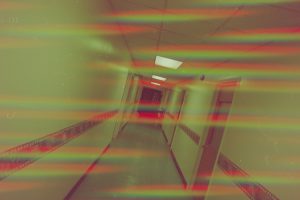
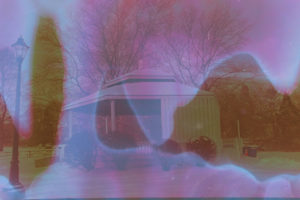
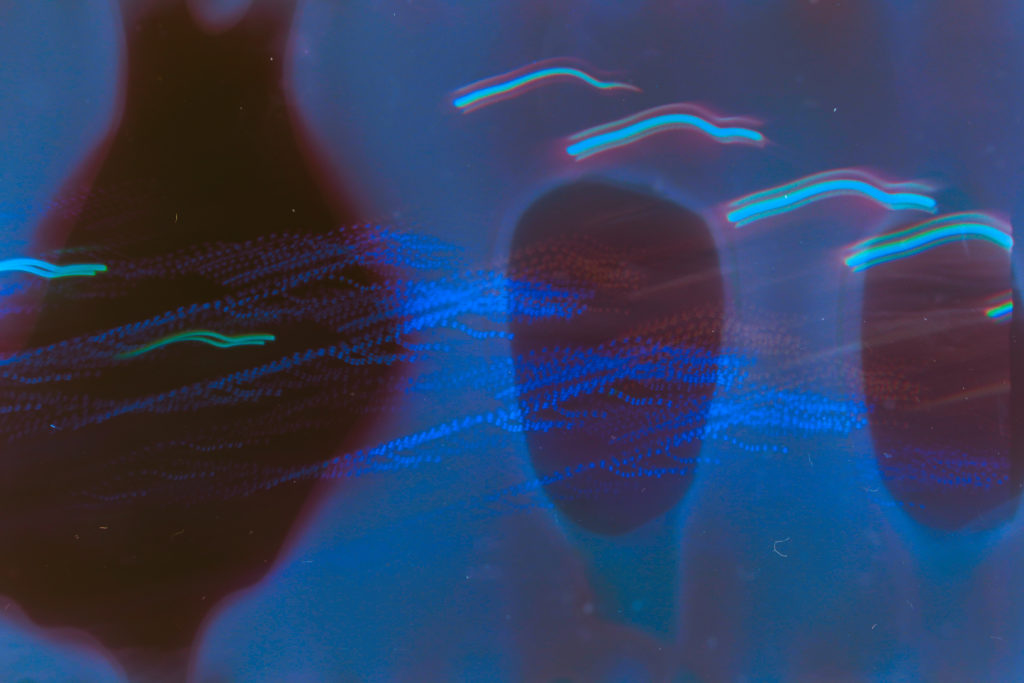
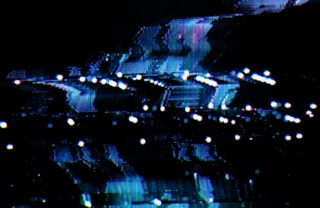
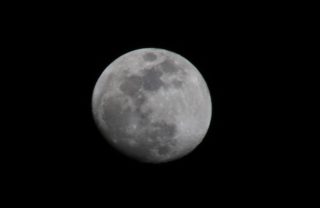
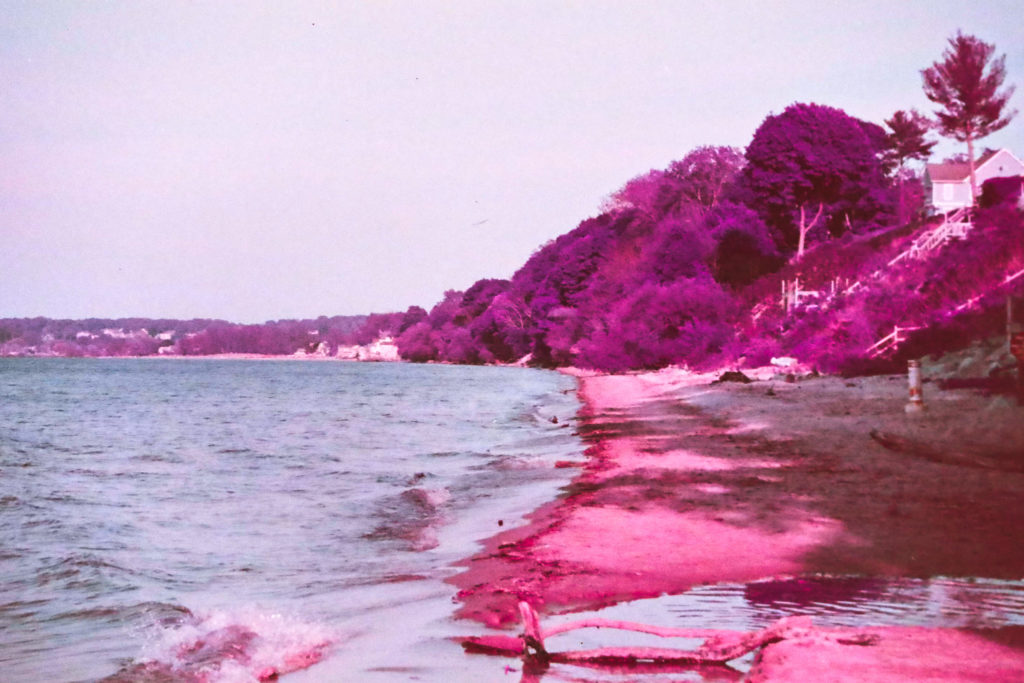
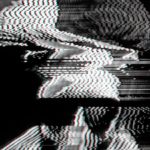
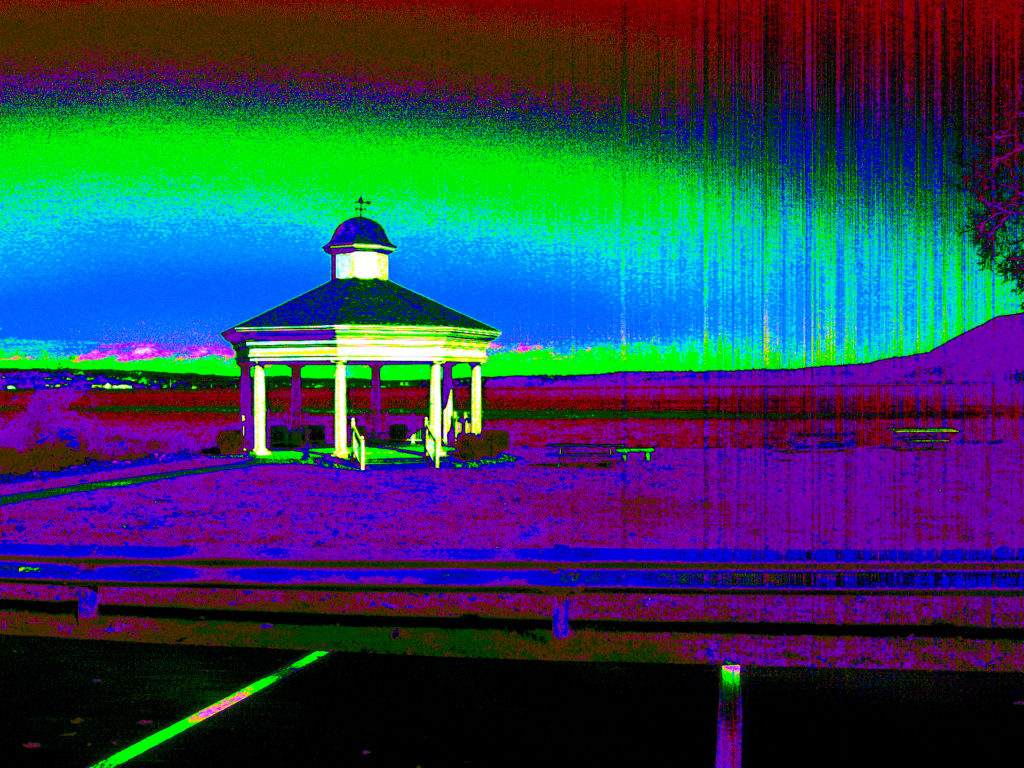
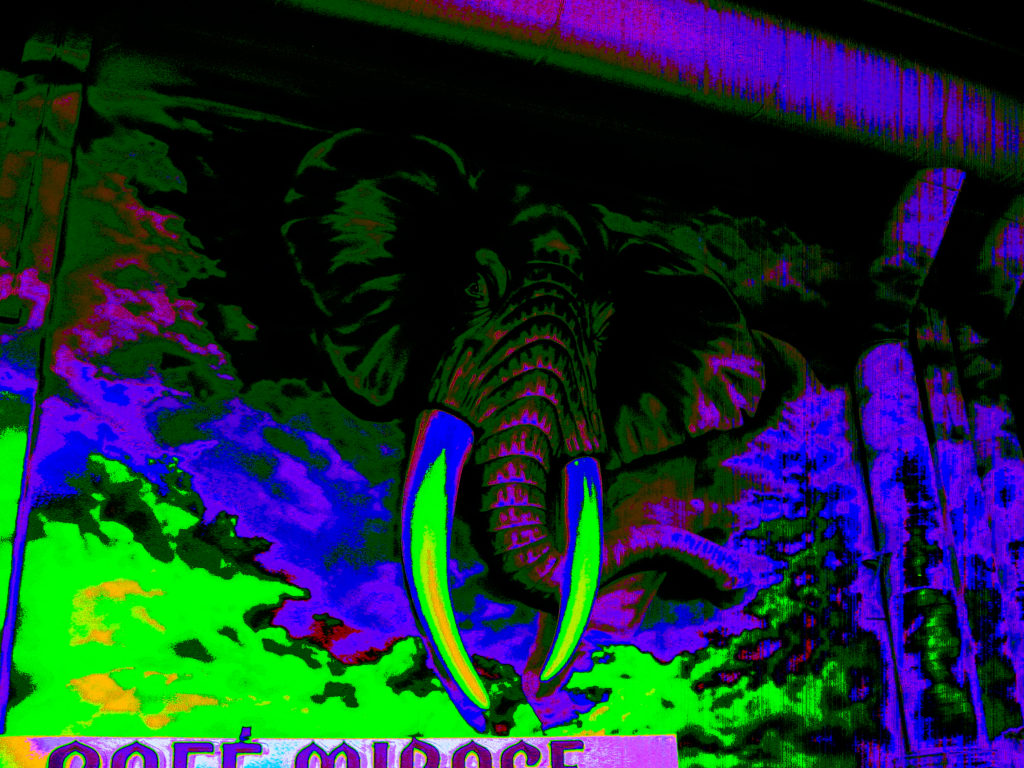
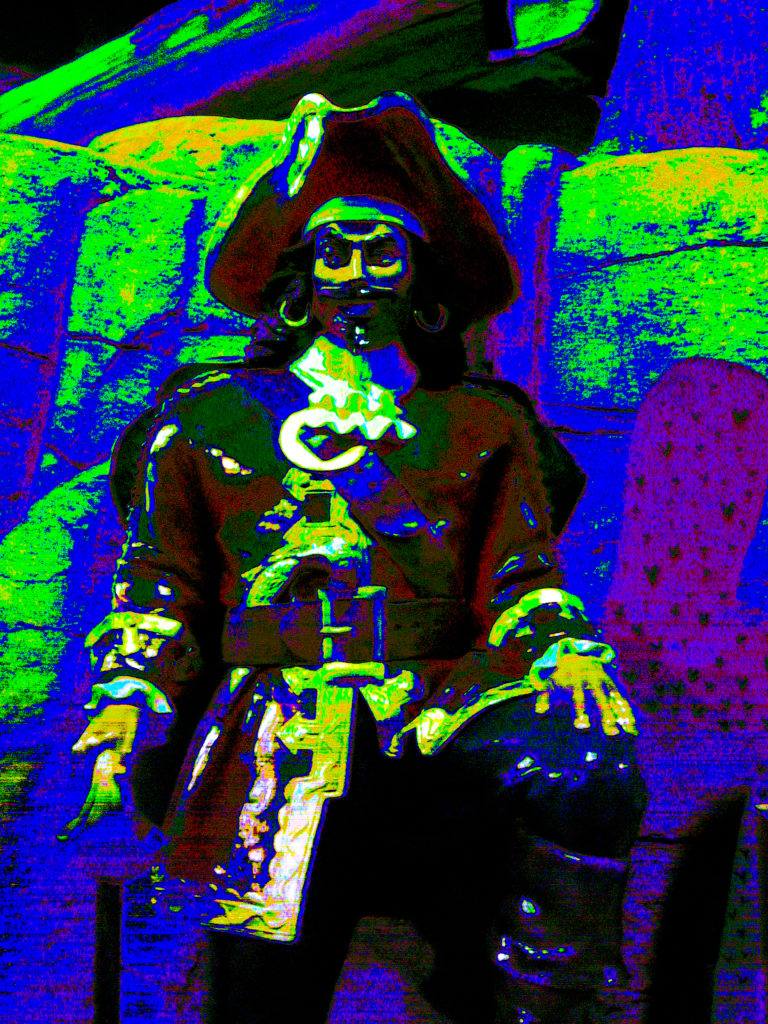
I’ve previous written about and discussed at conferences the difficulty of achieving glitch effect with AI image generators. Back in February I began experimenting with using my glitch art as an image prompt combined with other of my photography and various descriptors. What came out of these sessions became whole new worlds of the AI’s wildest imagination.
The first set of combination photos I did used the above photos. It took a few generations and using the terms “anagylph” along with the weird parameter to finally get to the other world.
I ended up calling the series “Journey in Midnights.” The surreal landscapes echoed the use of infrared photography with the dark skies and red hues on the vegetation. This is just one example of the strange outputs I was able to get through this process.
Have you used a generative AI system with your own works as prompts to explore the latent space?
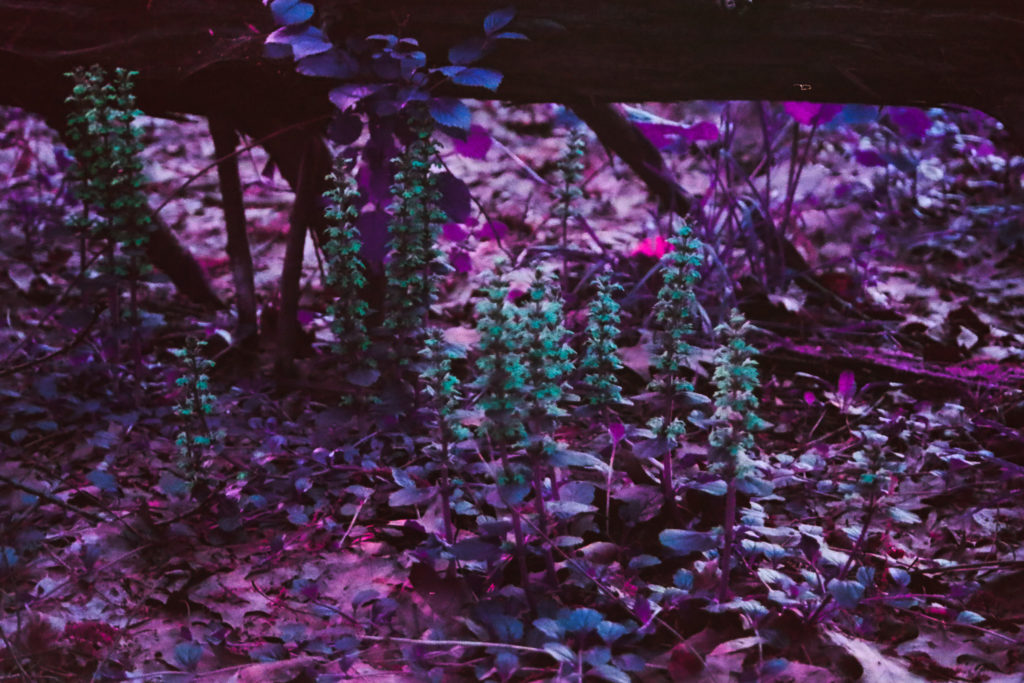
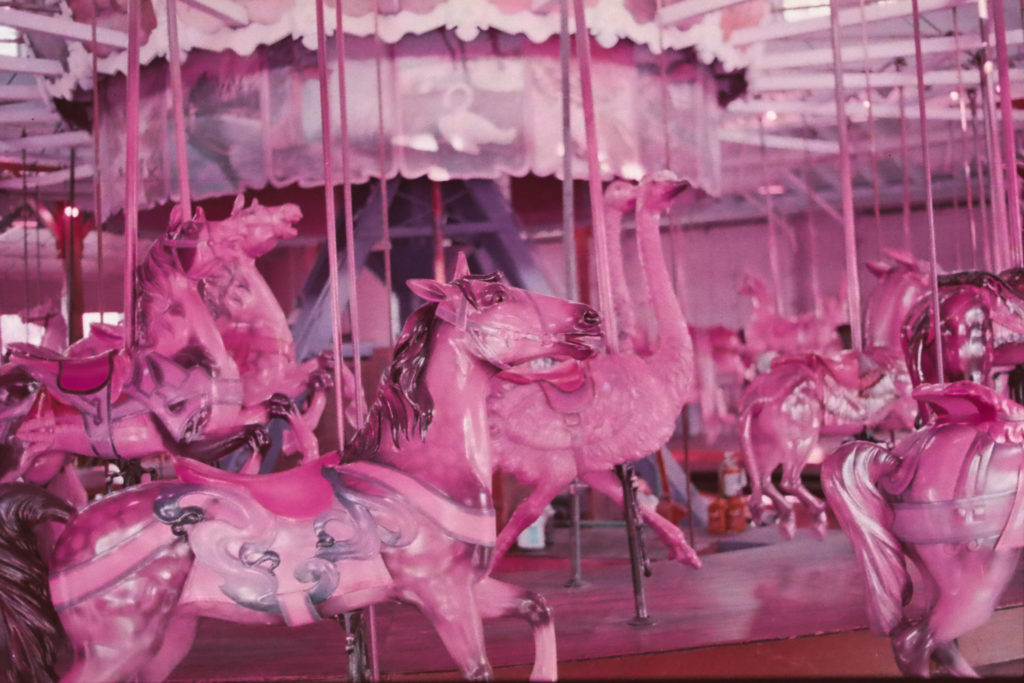
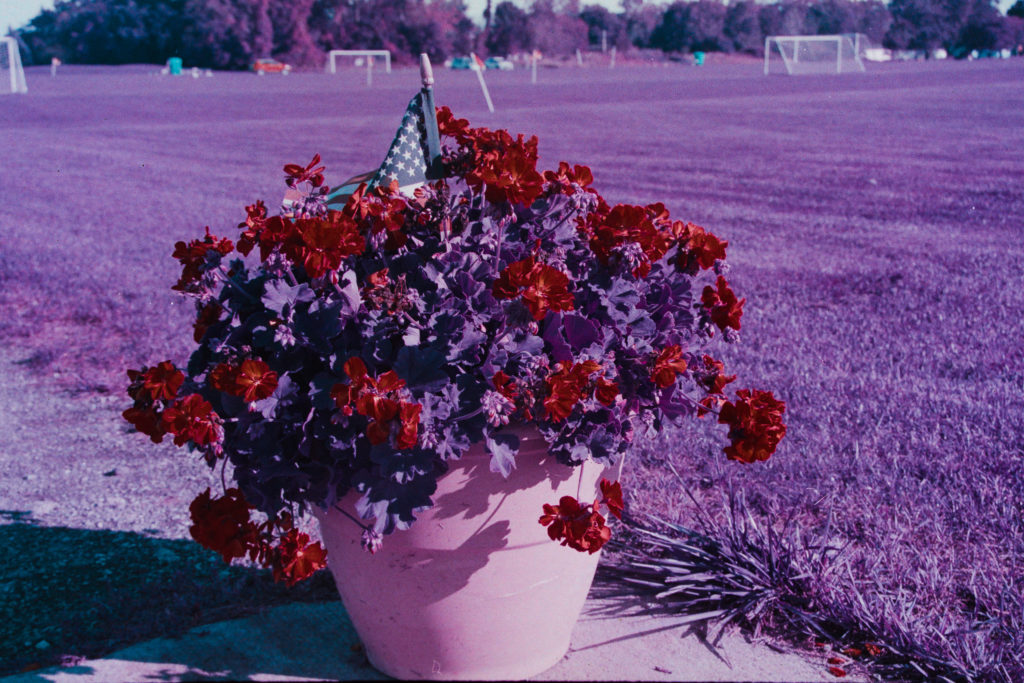
With getting into film photography, I wanted to find ways to still explore reality different. I researched experimental films and found Lomography‘s many offerings. I decided to try their Lomochrome Purple first. The film creates other-worldly pink to dark purple hues. This was also the second film I tried after getting my dad’s old camera
I loaded the roll up and took the camera out with me on a hike, to a show, and walking around Charlotte Beach. It was really fun experimenting with it in different light conditions and pushed the film to make some amazing purples.
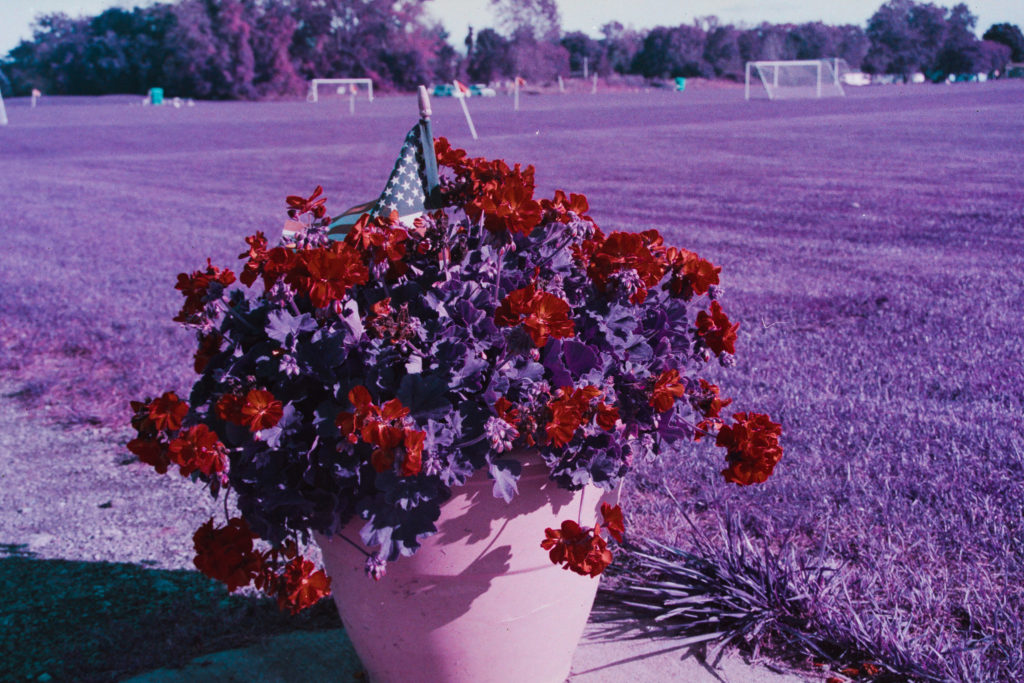
Other reviews have stated how changing the ISO affected the colors in the film. In my trials, the ISO setting to meter the film has little difference on the film. The difference can be adjusted with exposure and contrast controls to make the film almost identical.
I ran a test roll where I shot the same scene at 100, 200, and 400 ISO. There’s only minor difference in darkness of purples between ISO 100 and 400.
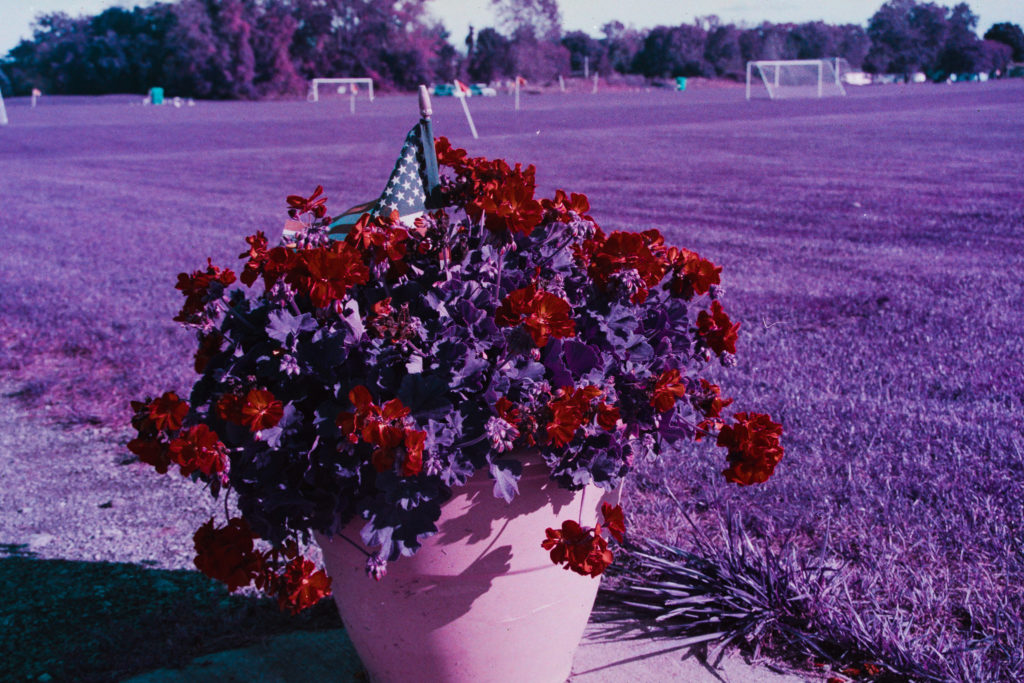
Lomochrome Purple film negatives have a green tint to it, compared to the typical orange tint that Kodak film has. I had to adjust my camera settings when scanning the film to a more cooler temperature as my normal color negative settings completely ruined the color.
This is one of the more unique films I have tried and it has quickly become one of my favorites. I have a few more rolls I plan on taking with me when I go on trips in the coming months.
Growing up, the only option for photography was using film. With the digital photography entering the market, film was quickly replaced with better quality photos and not having to wait for the film to be developed. However, film has a vibe that can not be truly replicated by digital technology. As with my analog glitch art, digital technology now provides us with new ways to manipulate the medium.
My dad gave me his old Canon EOS 10S that he used while I was growing up. I’m always looking for new ways to express myself and discovered from unique filmstocks available. The ones that caught my eye the most were Lomography‘s Purple and Turquoise along with the various batches of Psychedelic Blues.
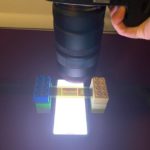
With the decline of film, options for getting it developed are limited. Fortunately there is one store left in my city that will develop film and return the negatives. I opted to explore scanning the negatives myself. The scanning part is straight forward with the right equipment. I’m using my Canon EOS R and the RF 100mm 2.8 macro lens. For my quick and dirty scanning rig, I’m using Duplos to space the film above my cell phone that is providing the backlight for the scan.
It is important to note that when scanning the film from a camera, use a custom white balance setting at the wamest temperature your camera can do. On the EOS R, I have it set to 2700k. The spacing of the film my cell phone is also important because the macro lens can pick up the individual LEDs of my phone screen.
The images are then processed in Lightroom by inverting the light curve and making slight adjustments to the color. If you have your ISO set to auto when taking the film scans, you’ll need to adjust the exposure in Lightroom as it may be too bright.
I’m going to continue to use film as an outlet for my creativity. Be sure to follow along!
I always like to push my art into new styles to explore ways to present reality in differently. What started as adding anaglyph to a prompt turned into researching how to actually create them.
The secret to creating the depth is to create a displacement map. The file is made by editing regions of the image with varying shades of white, grey, and black. Once processed in Photoshop it creates the illusion of depth when the 3D glasses are worn.
This process adds a unique perspective to my works and puts me in the third dimension. On my Facebook page, I run a contest at the beginning of every month for one free print!
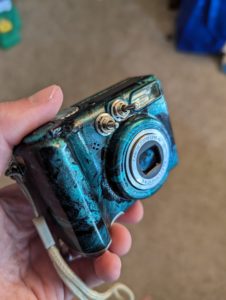
I was able to get my hands on the Glitchwerks Chromafield back in June of 2023. The Chromafield is a circuit bent Canon A540 digital camera. There are three switches to change the glitch effects as well as maintaining the features and functions of the camera.
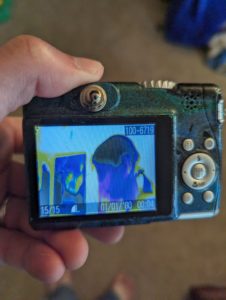
I’ve done a bit of experimenting with the camera and I use it often when I’m out to capture glitches on the go. I’ve gotten some very vivid captures while out that bring a unique vibe to the world around us.
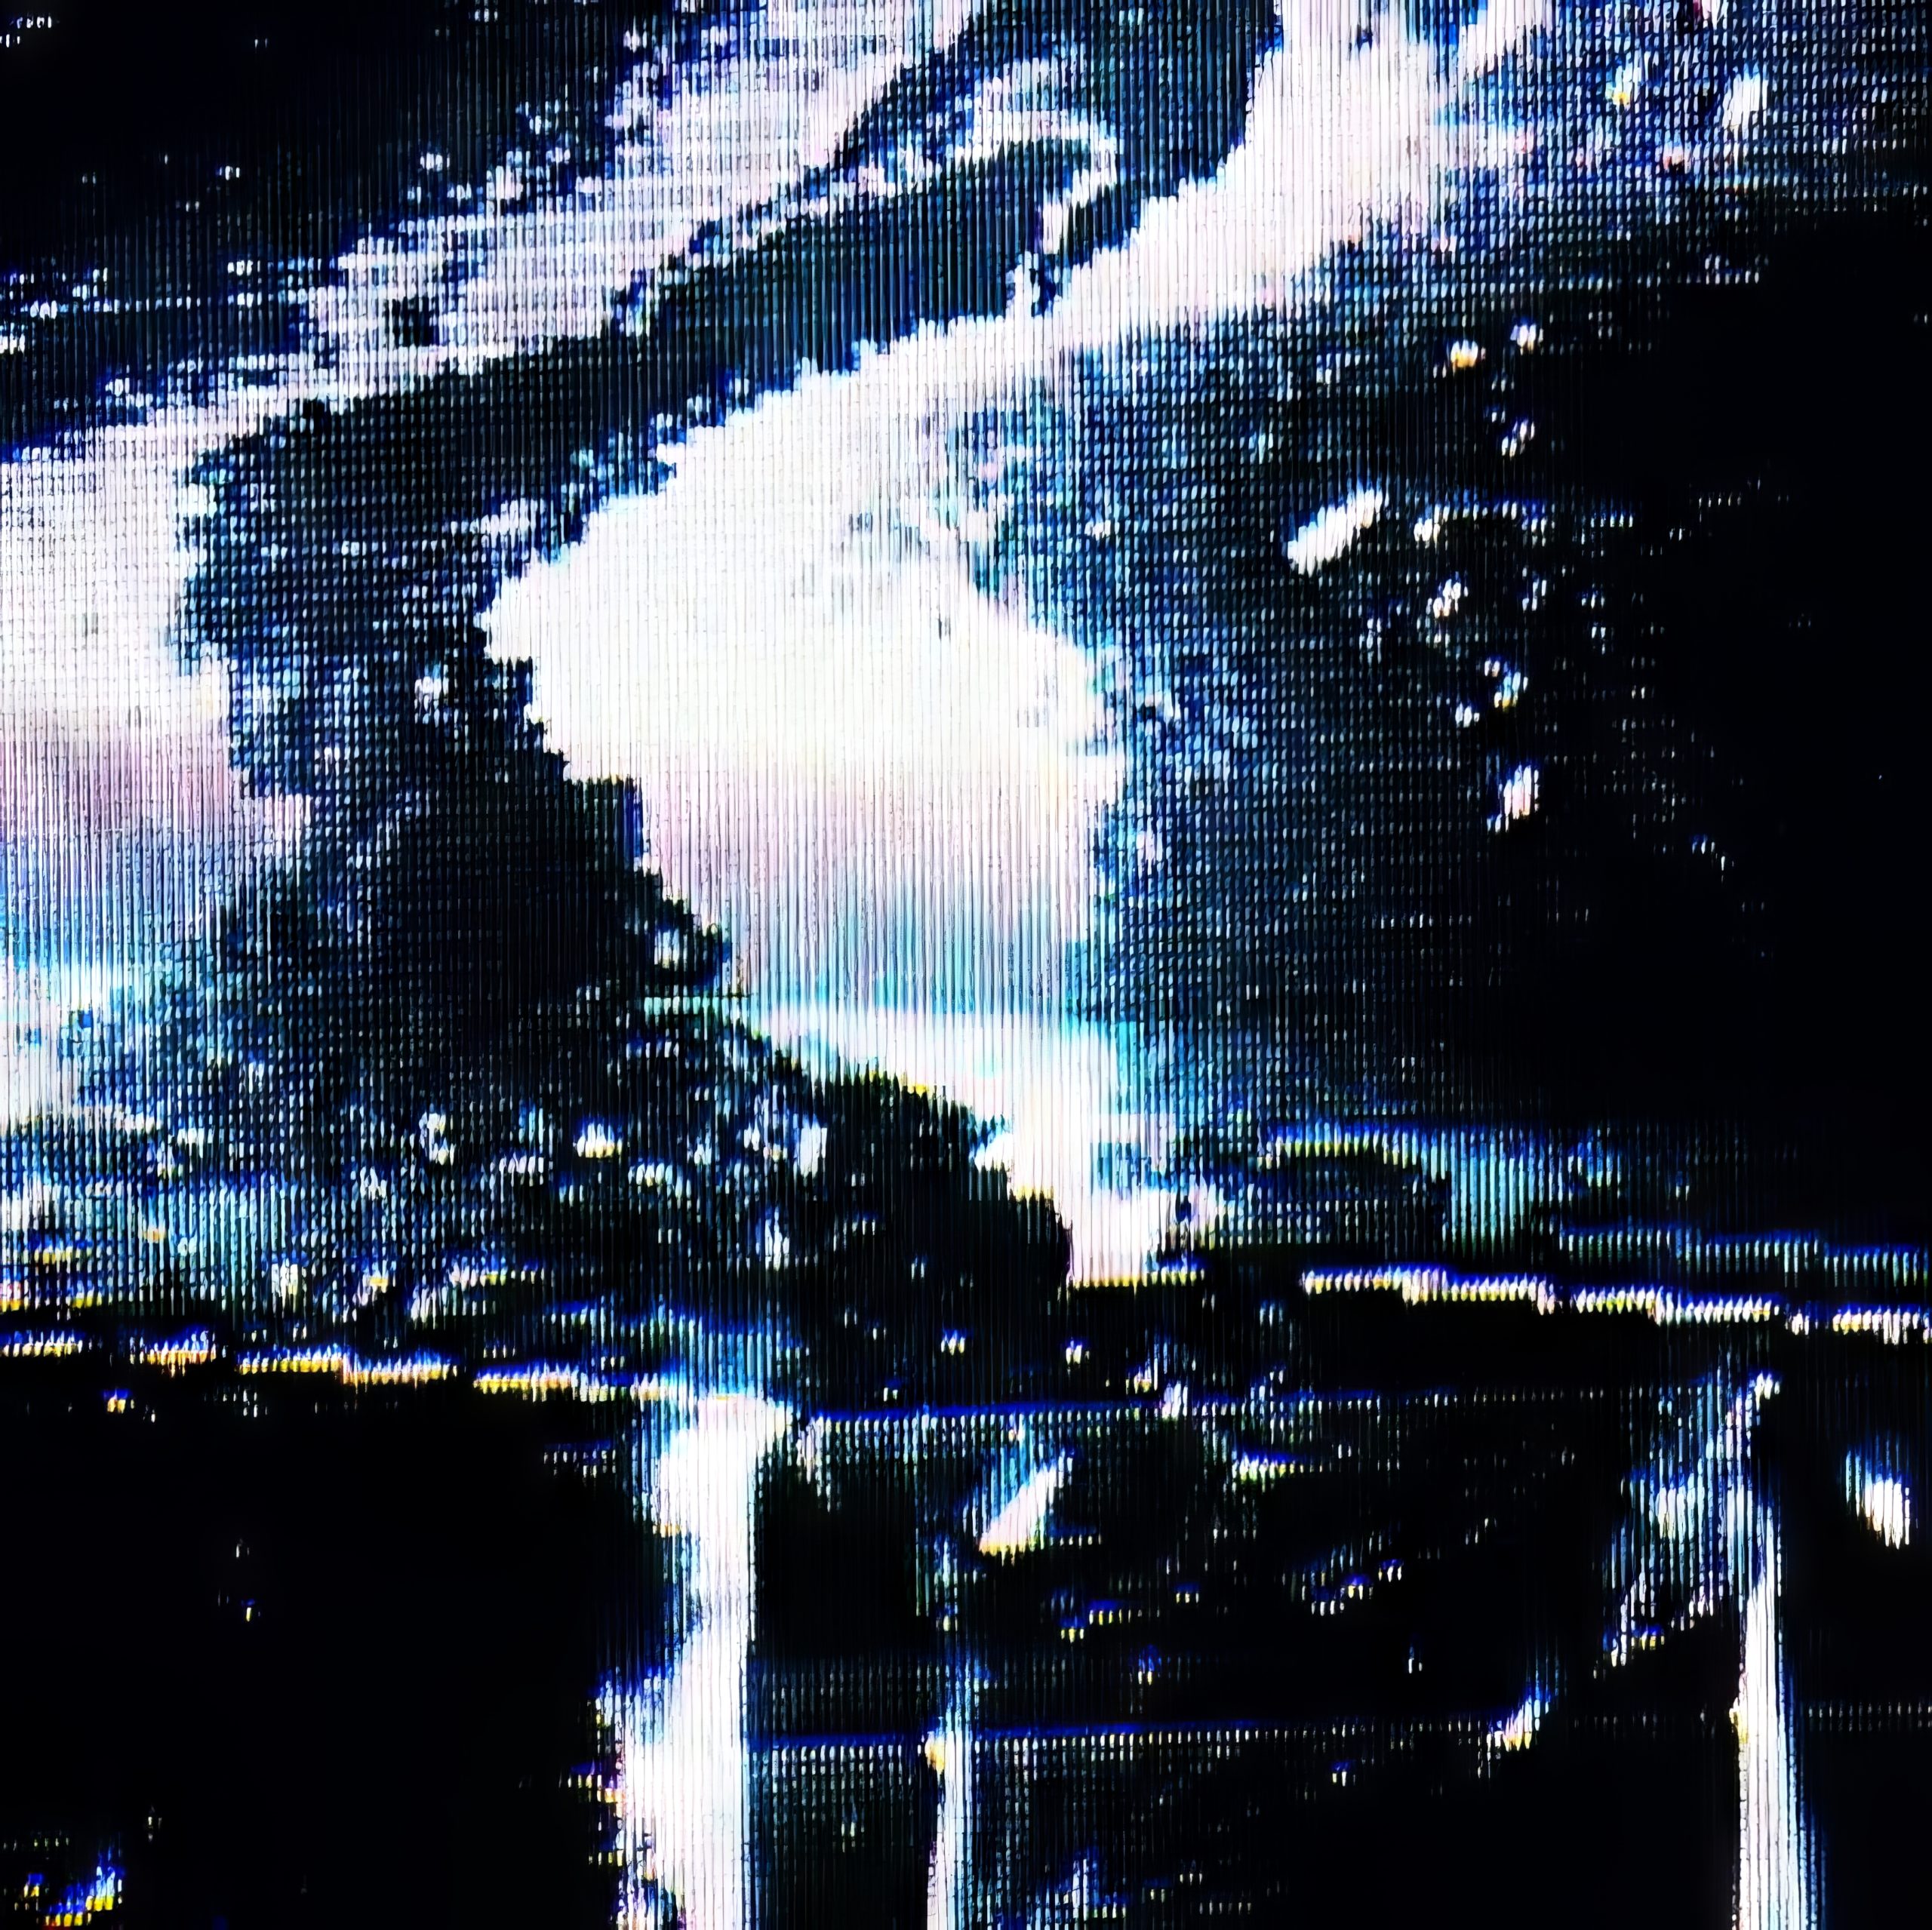
I’ve even used it as video input for a feedback loop at a live show. The colors were incredibly bright and brought a whole new dimension to the performance. I’ve also used it to capture TV footage for an instaglitch.
Overall I’m really happy with it and it’s a great addition to my glitch arsenal. One thing I had to do when I got it, just as an FYI, was replace the CMOS battery because it was dead. With no CMOS battery the camera drained the AAs very quickly.
Check out my store for works that have been created using this camera!
This post has been updated since initial publication.
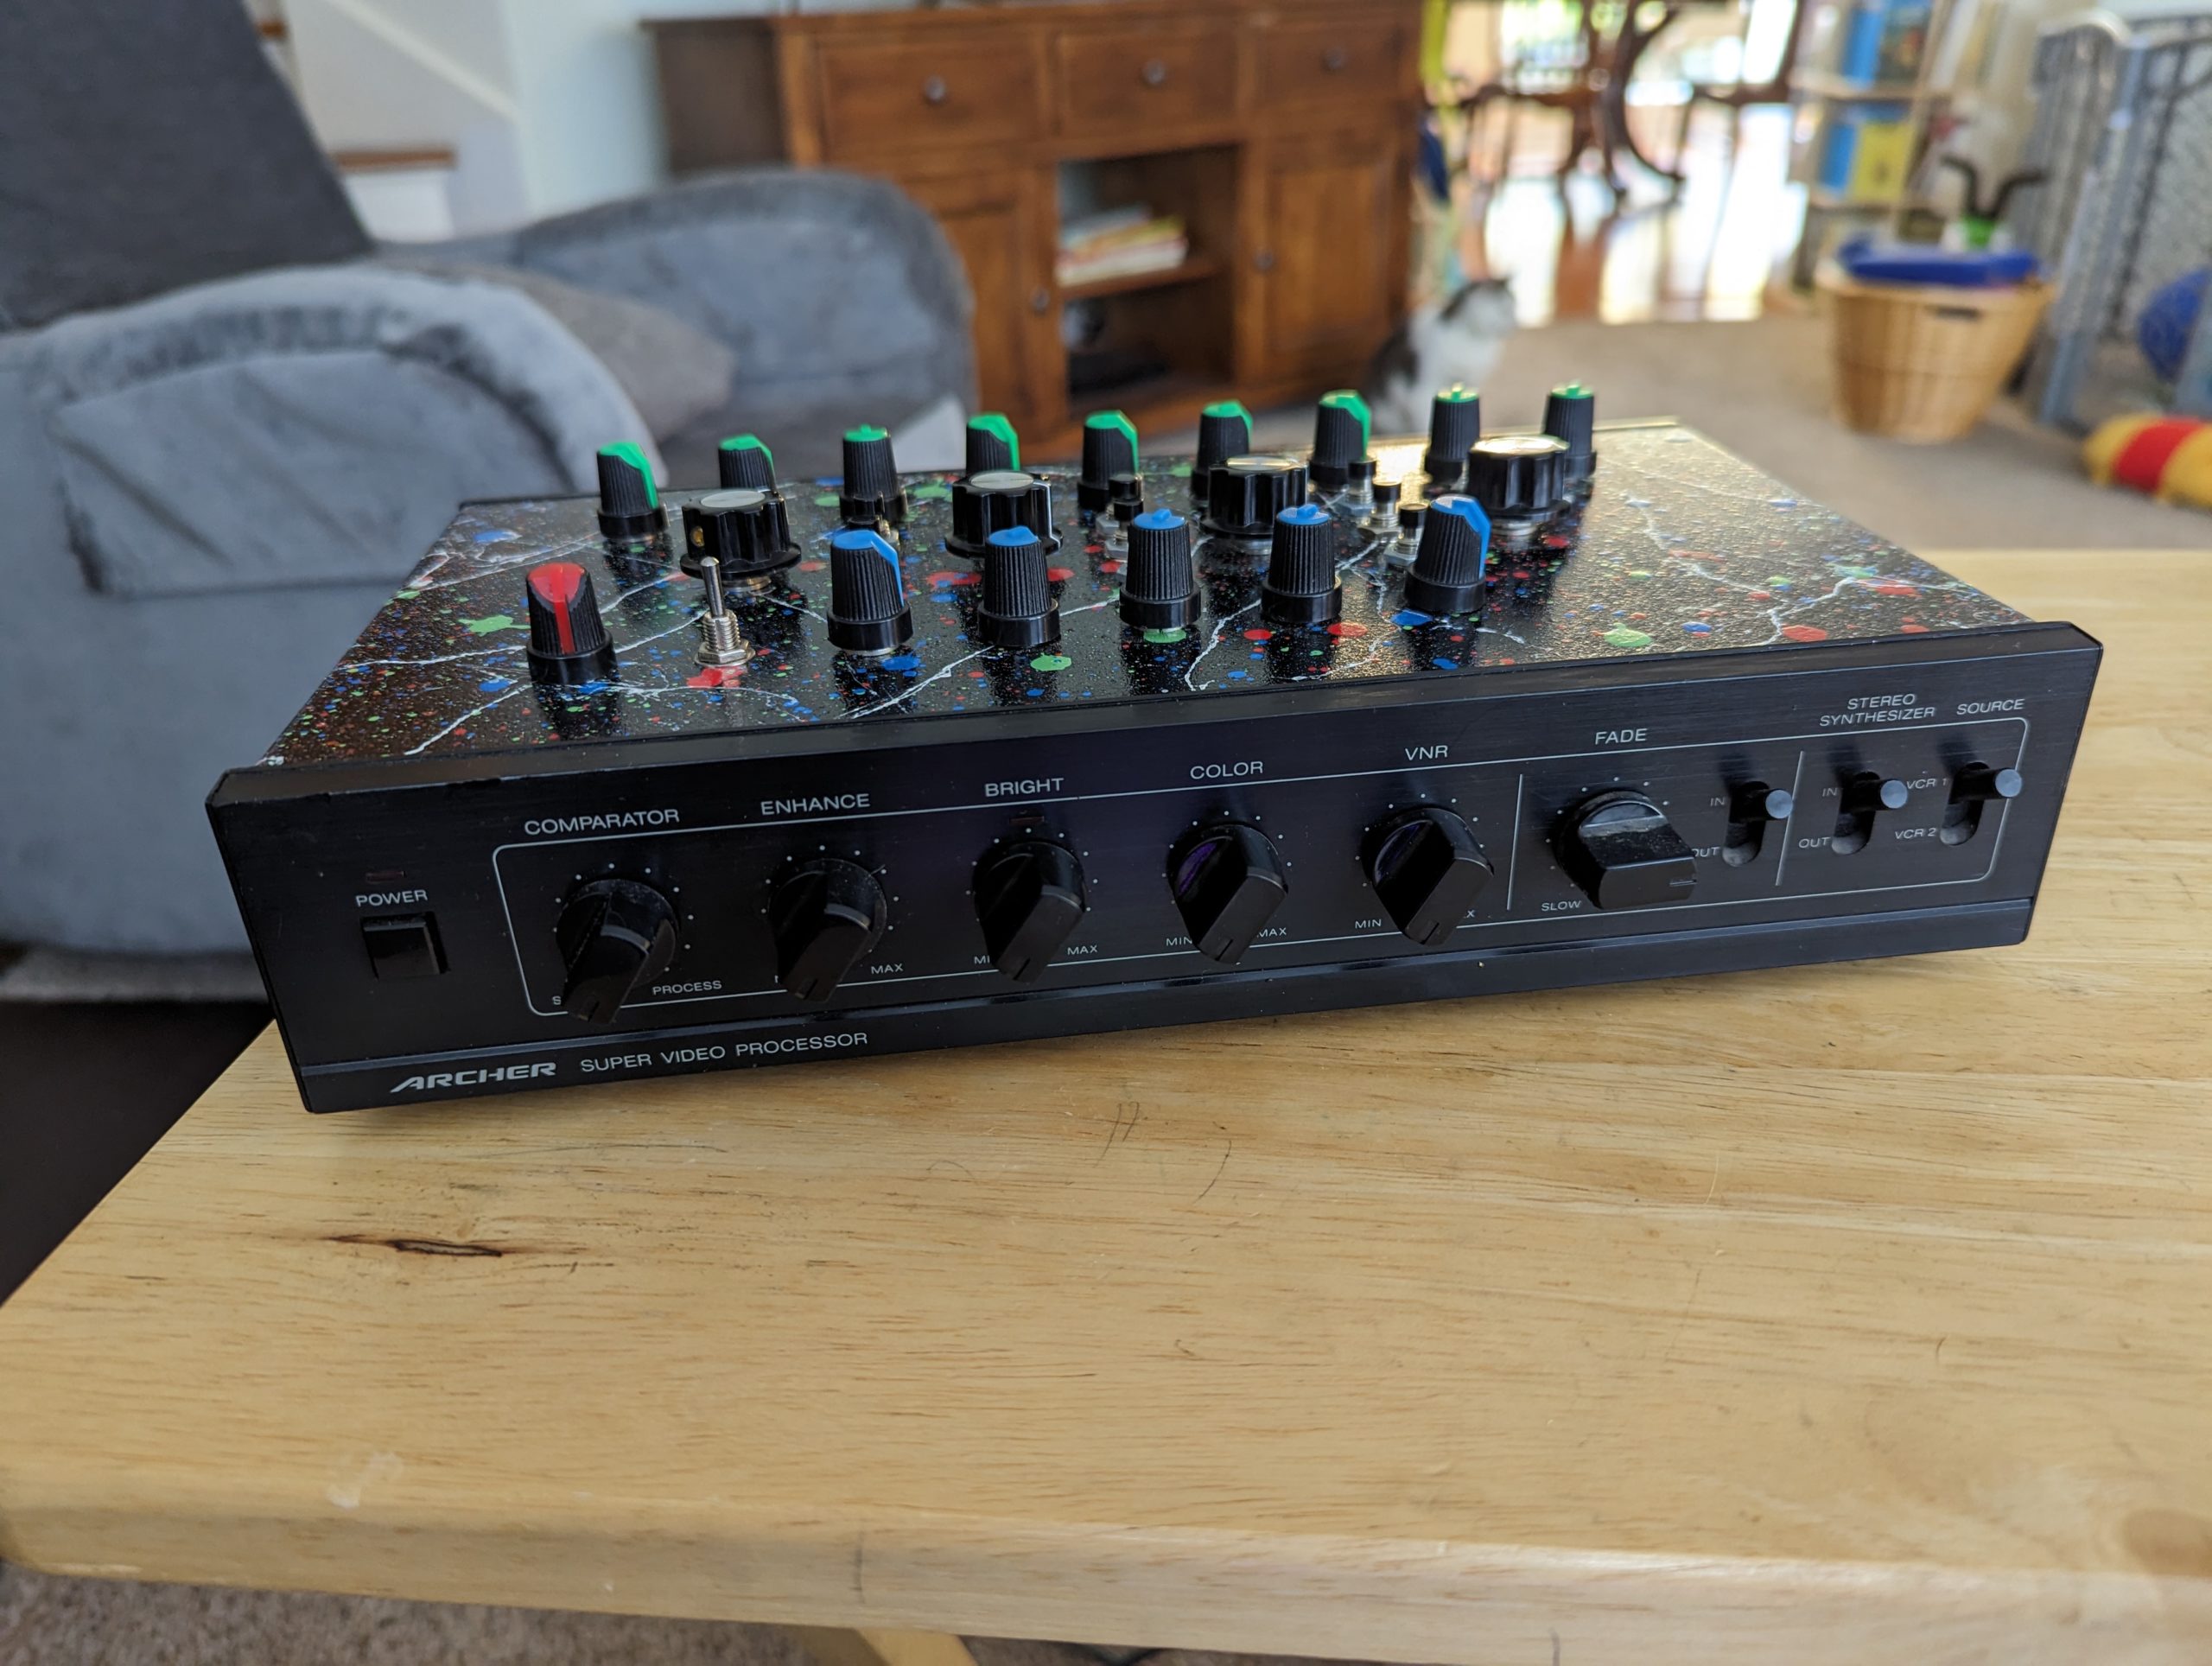
This has been a long time coming, but I’m finally getting around to writing gear reviews! First up, we have the Mothership Deluxe by Gator Glitch Gear. The Mothership was the first circuit bent piece of analog glitching equipment I was able to obtain. Using the Archer Super Video Processor as a base, Gator creates a device that is able to explore new dimensions within the analog glitchverse.
It took some time to get a handle on what the device is able to do, but I soon found a setting that allowed me to create “The Bend”, as I call it. Examples of The Bend are below:
The bend has been a core component to my glitch art and is featured in a number of my pieces. I’ve also been able to get great moving effects from this device and rainbows for custom logo work.
One of the things I’ve found with these analog devices is that the effect has to be created by twisting the knobs in a certain order. Normally I start on the left and move right to change the settings, but sometimes you need to wiggle some of them randomly to get the desired effect.
After speaking with Gator, there are a few other aspects of analog glitching and the Mothership I forgot to mention. First, the source media of the glitch has influence on what the resulting will be. Going full analog(VCR, camcorder, etc) will produce different visuals than going from a digital source then downgrading the signal to composite. Second, the type of TV used will also influence the resulting image. For glitching, I use a generic Target brand TV from the early 2000s. Different models may or may not result in the same glitch effects as what I have achieved. The patch notes I provide are a guide, hopefully you can find amazing effects and different sweet spots!
If you make some interesting patches, please let me know! I’m always finding new things with this device and I’d be very keen to see how others are using it.
Resolume is a really powerful VJ software that I have been exploring a lot with preparing for live visual shows. An output of one of these experiments was recording some footage of my analog glitch art through a few effects.
The analog textures come alive in new ways when combining them with digital processing effects. To achieve the output I’m using the Mirror Quad and Delay RGB effects. Not every analog glitch capture has worked for this, it needs to be something that scrolls so make the desired output.
I started using the output as a backdrop for recording some jams with the Moog Sound Studio. The result is something that is visually and audibly stunning and mesmerizing.
I plan on creating a collection of these videos to sell as a pack for creatives to use in their sets or whatever creative output they explore.