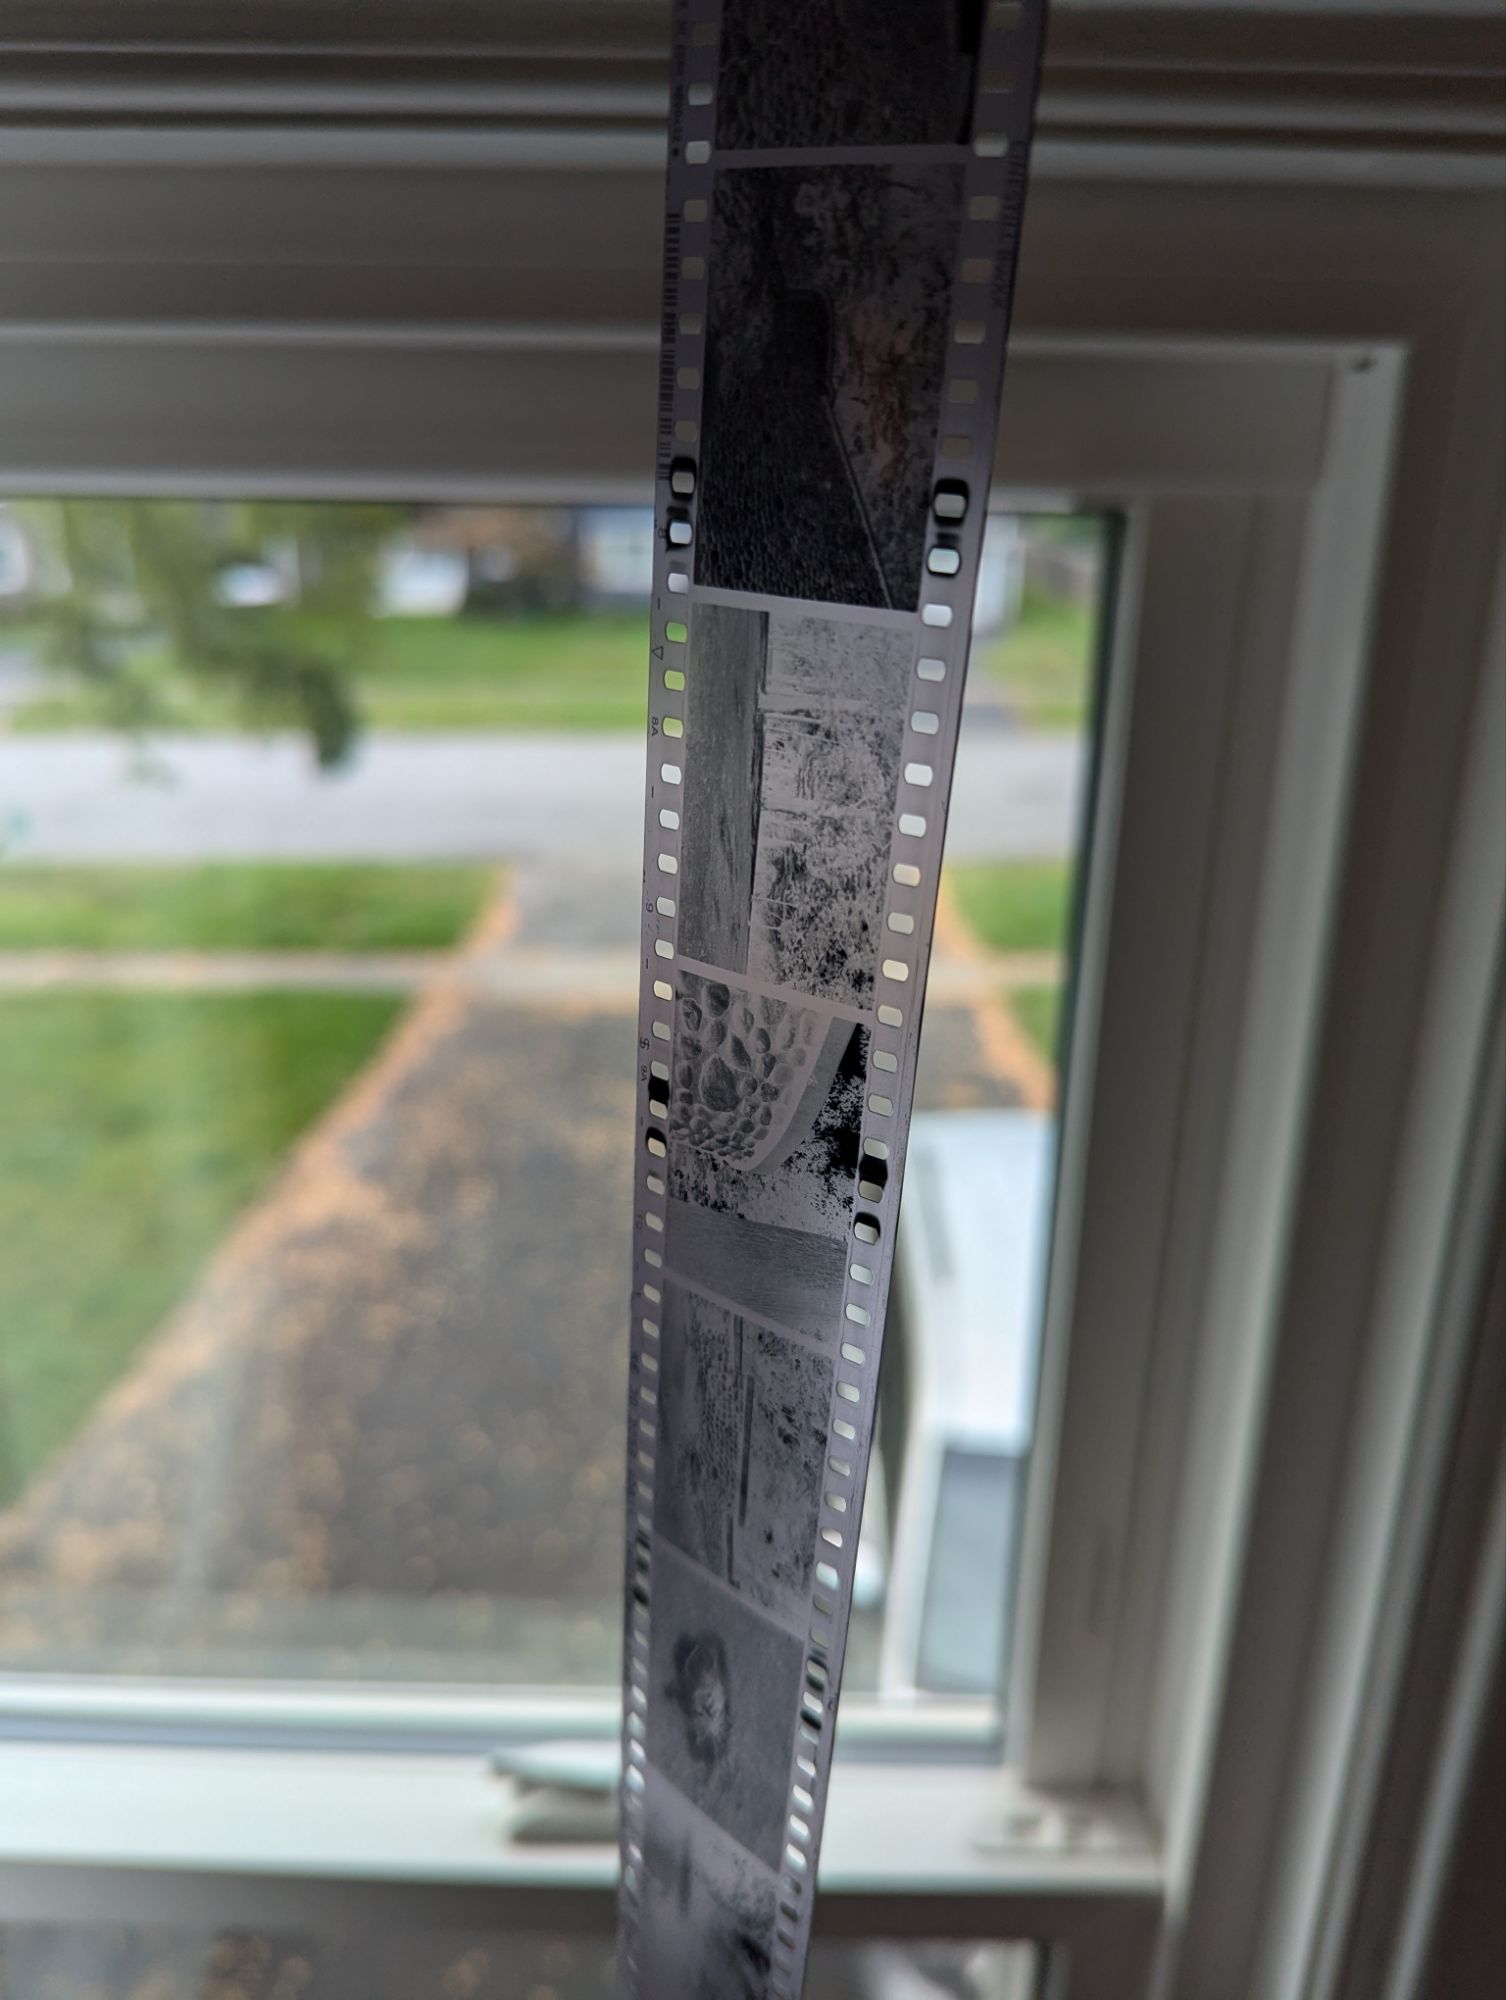
I recently developed two rolls of film I had worked on a few months ago using different experimental methods. Not everything turned out the way I wanted it to but I still learned a lot along the way. 35mm film has really been a fun medium to explore and distort.
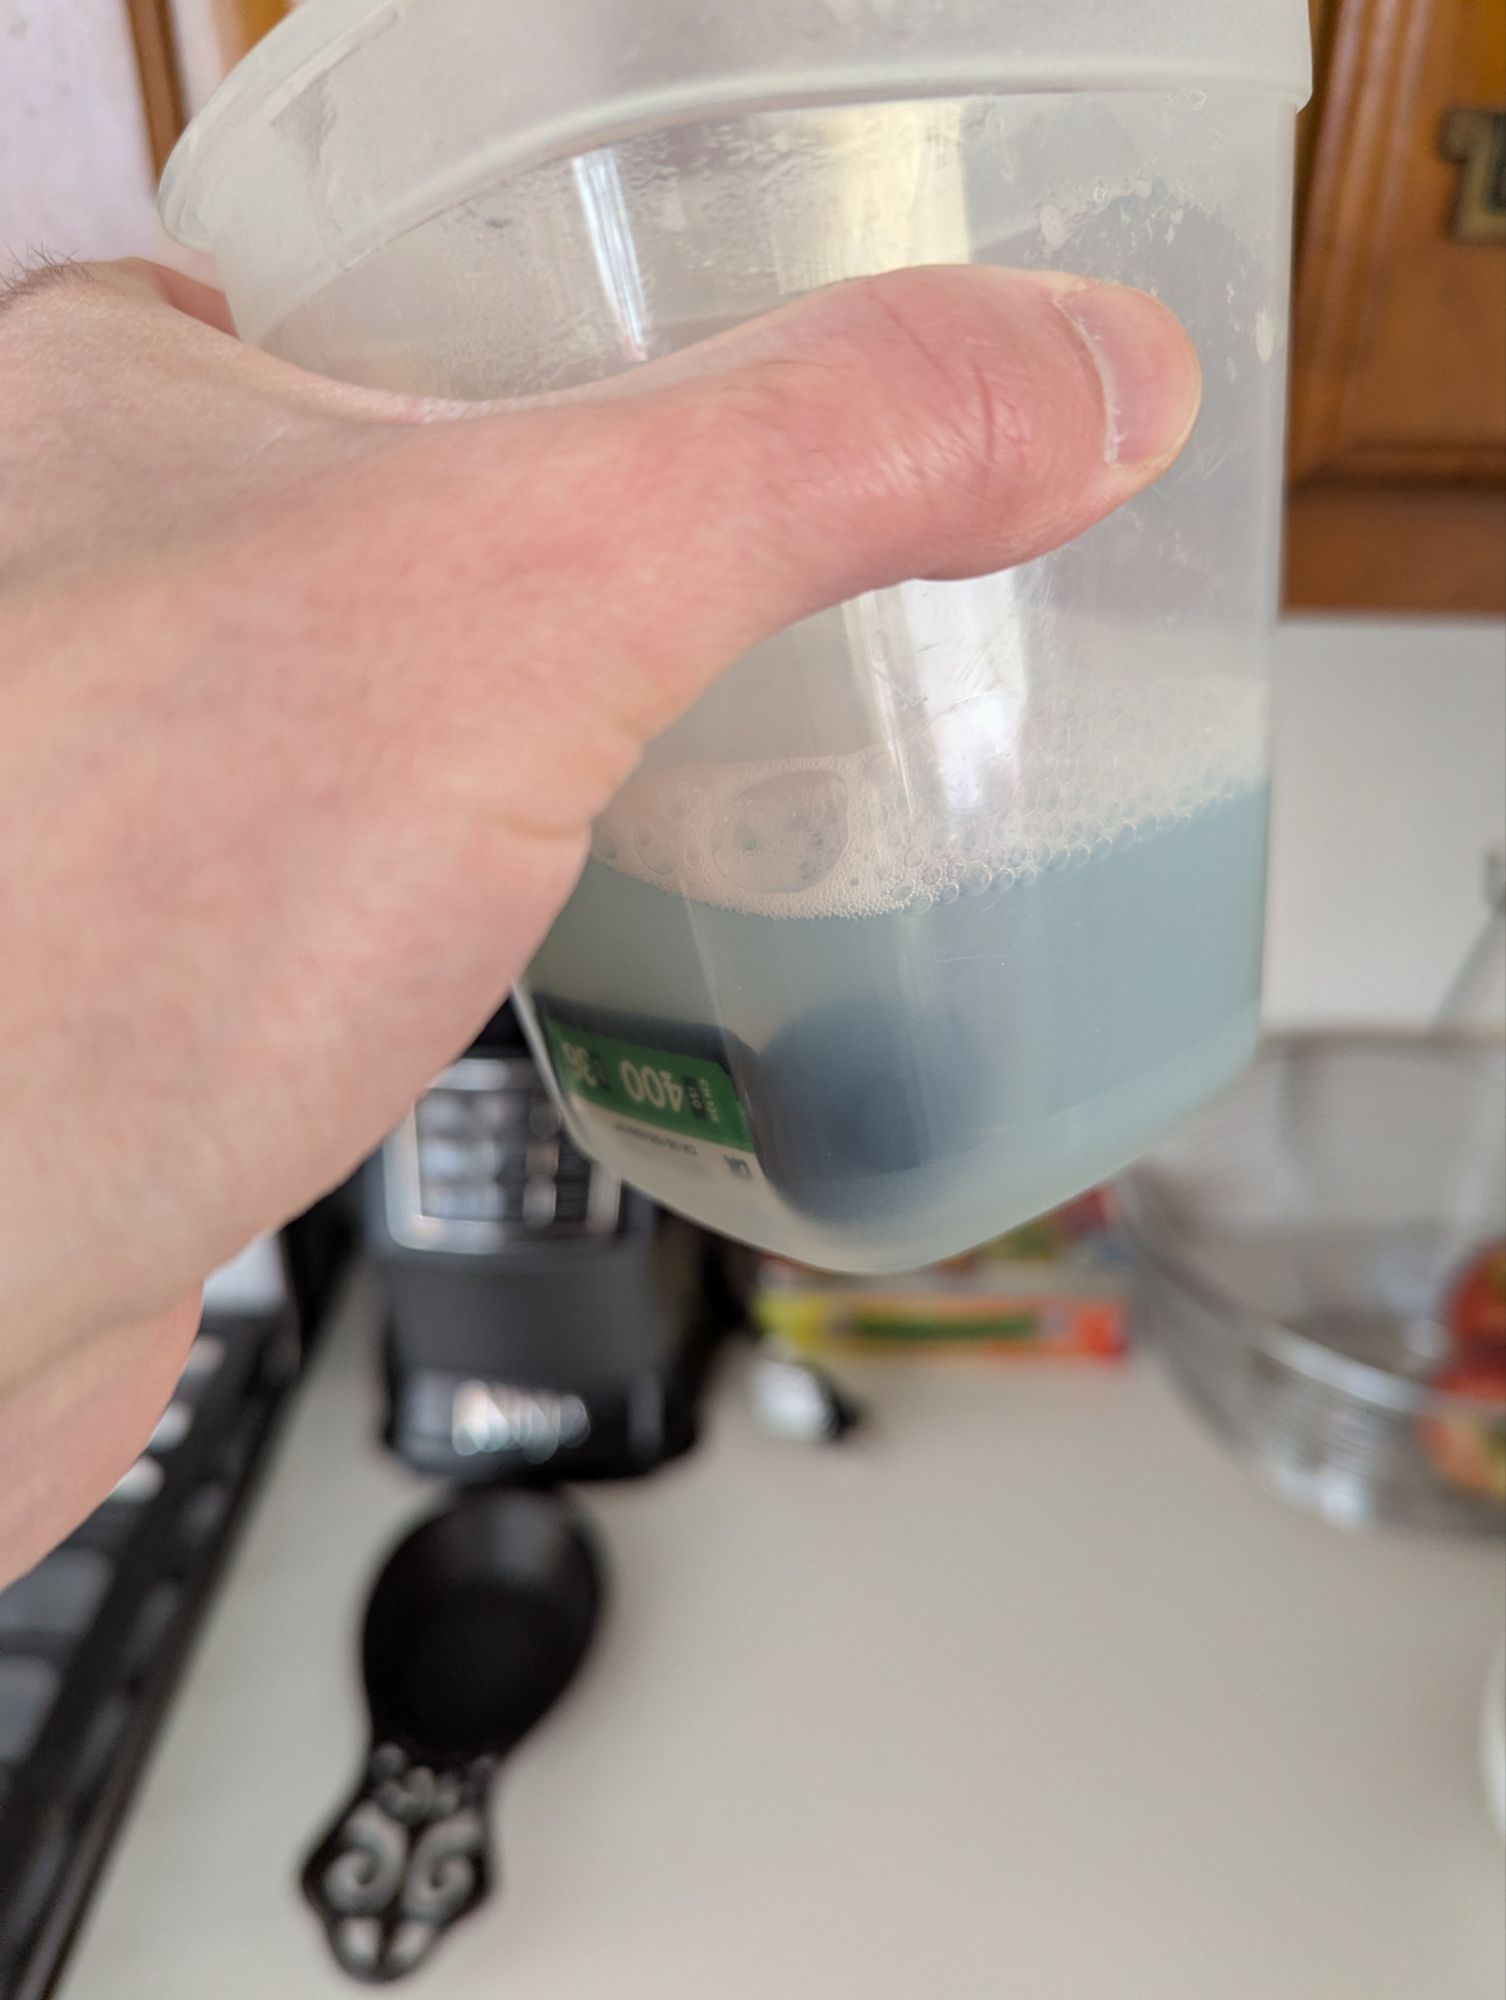
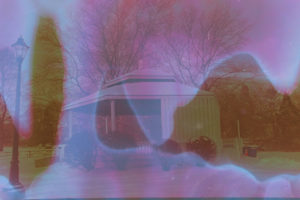
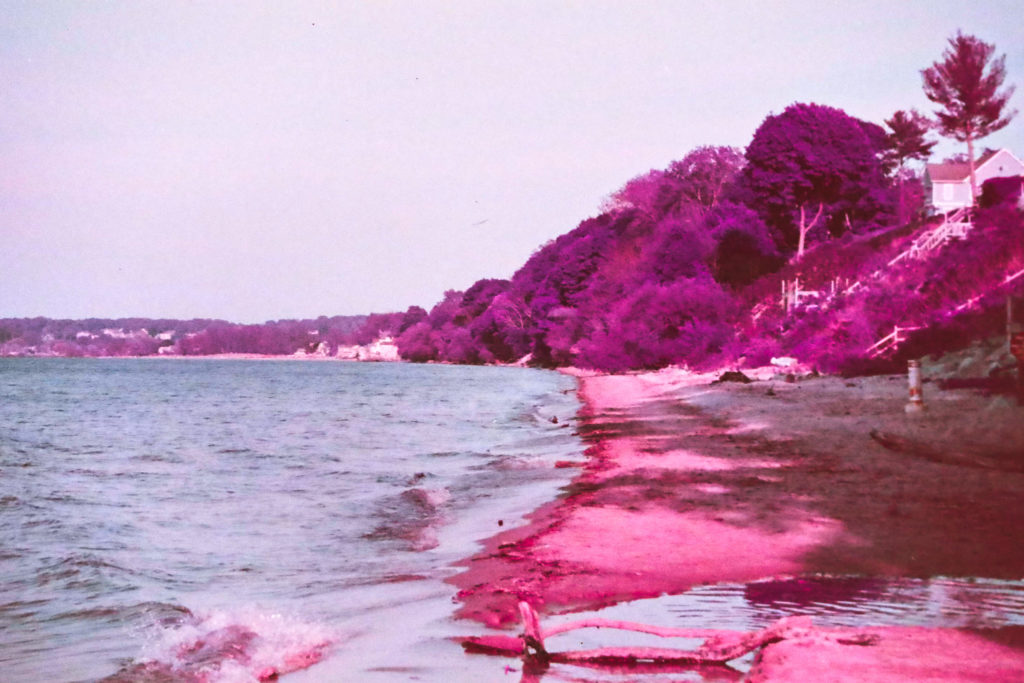
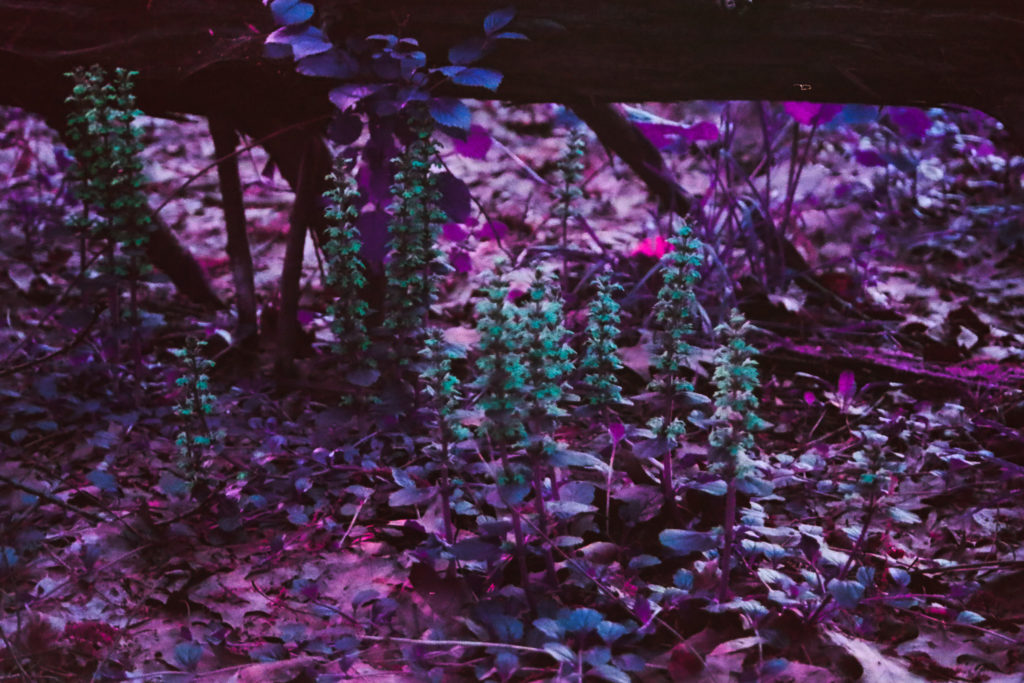
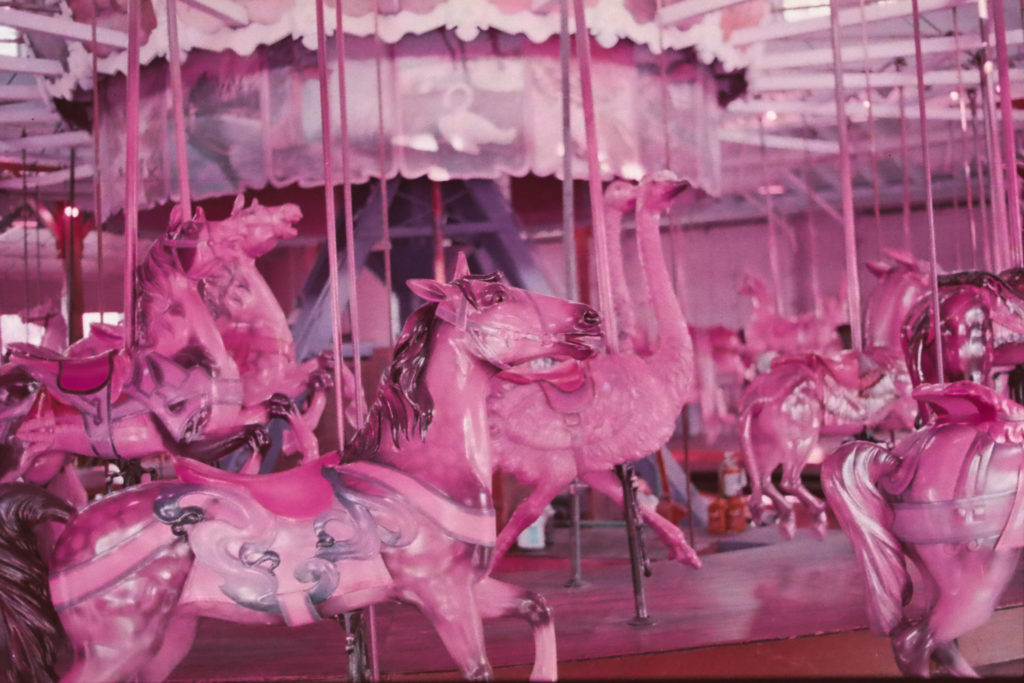
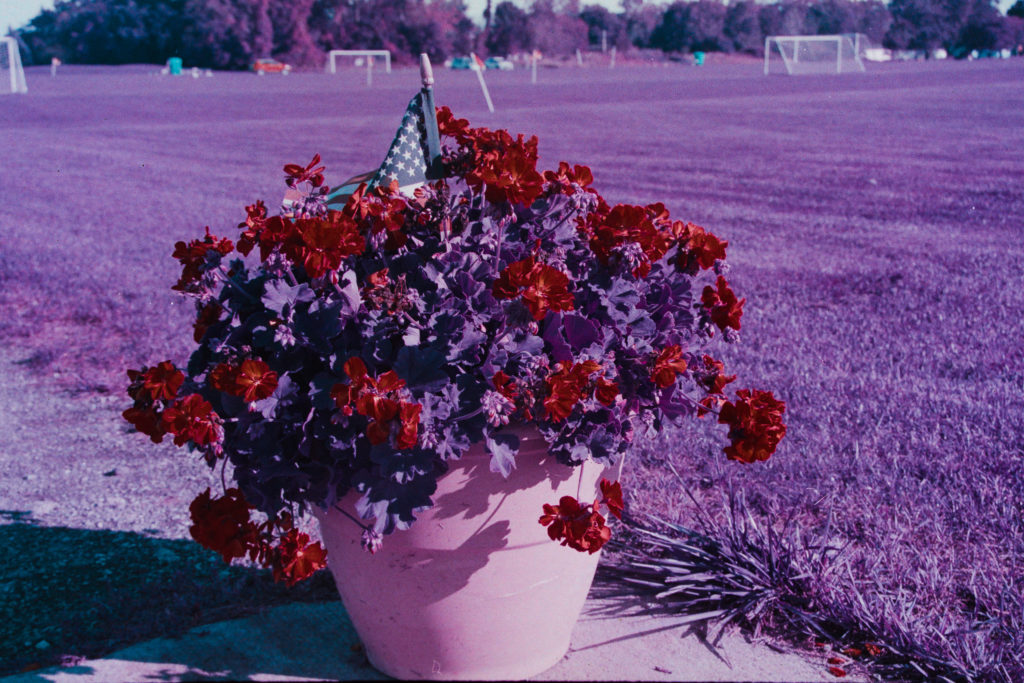
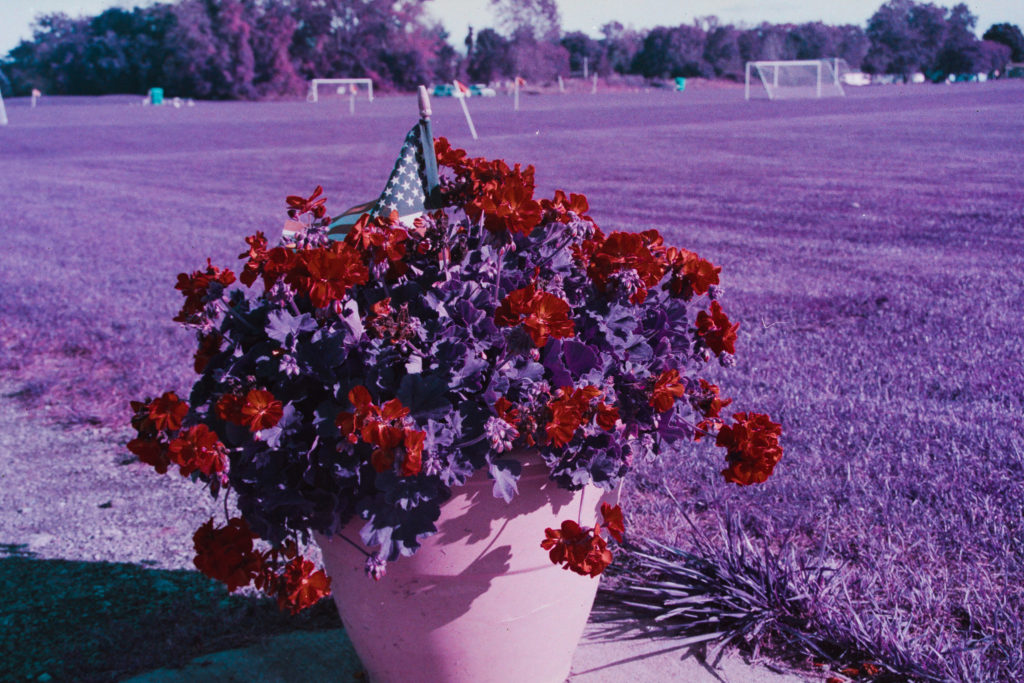
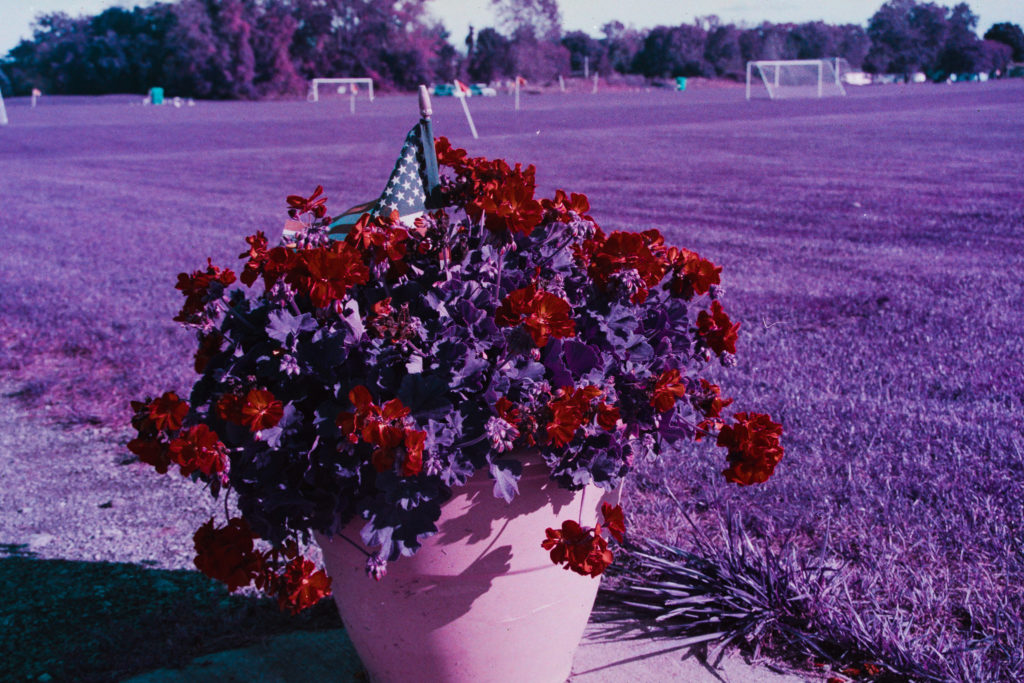
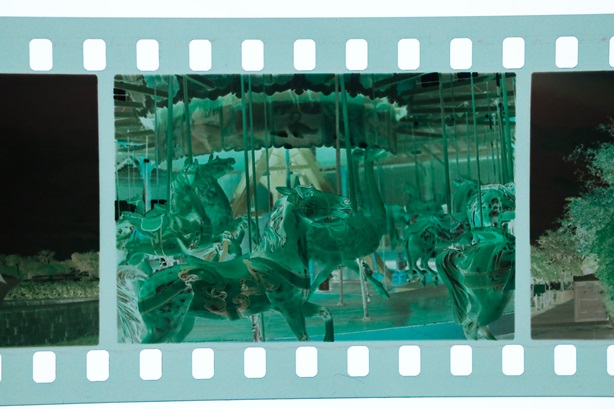
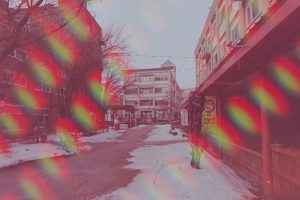
The first one was done on Lomochrome Purple and used what I call Method 1. This method hand-fogs the film to create different colors. Only a few frames ended up being usable as the effects were a bit heavier than I intended. The remaining frames had a variety of purple and turquoise colors mixed in


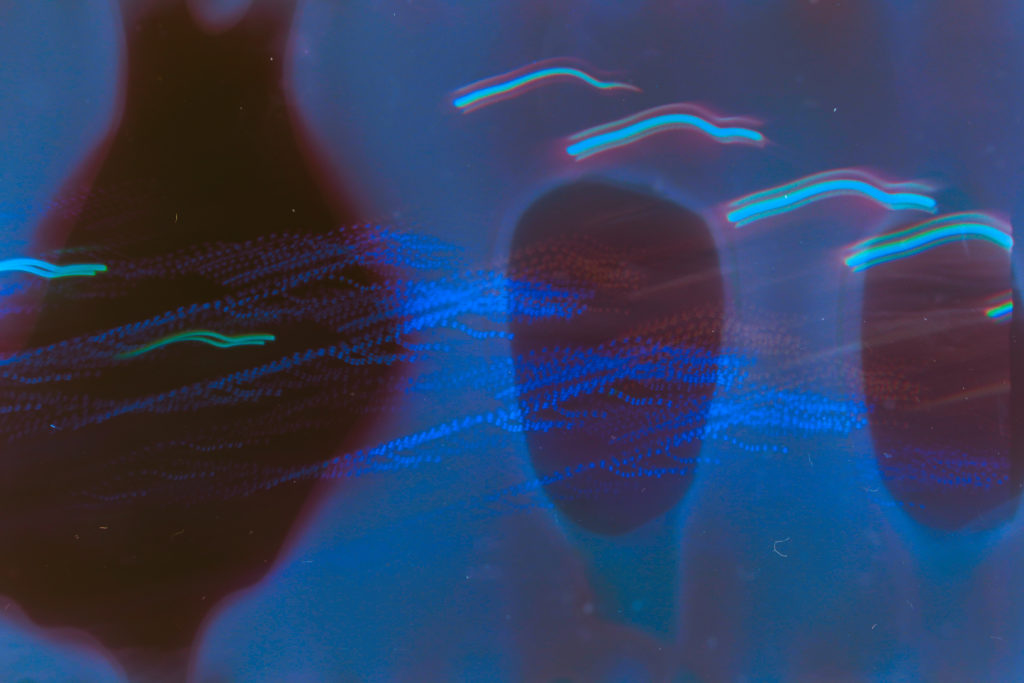
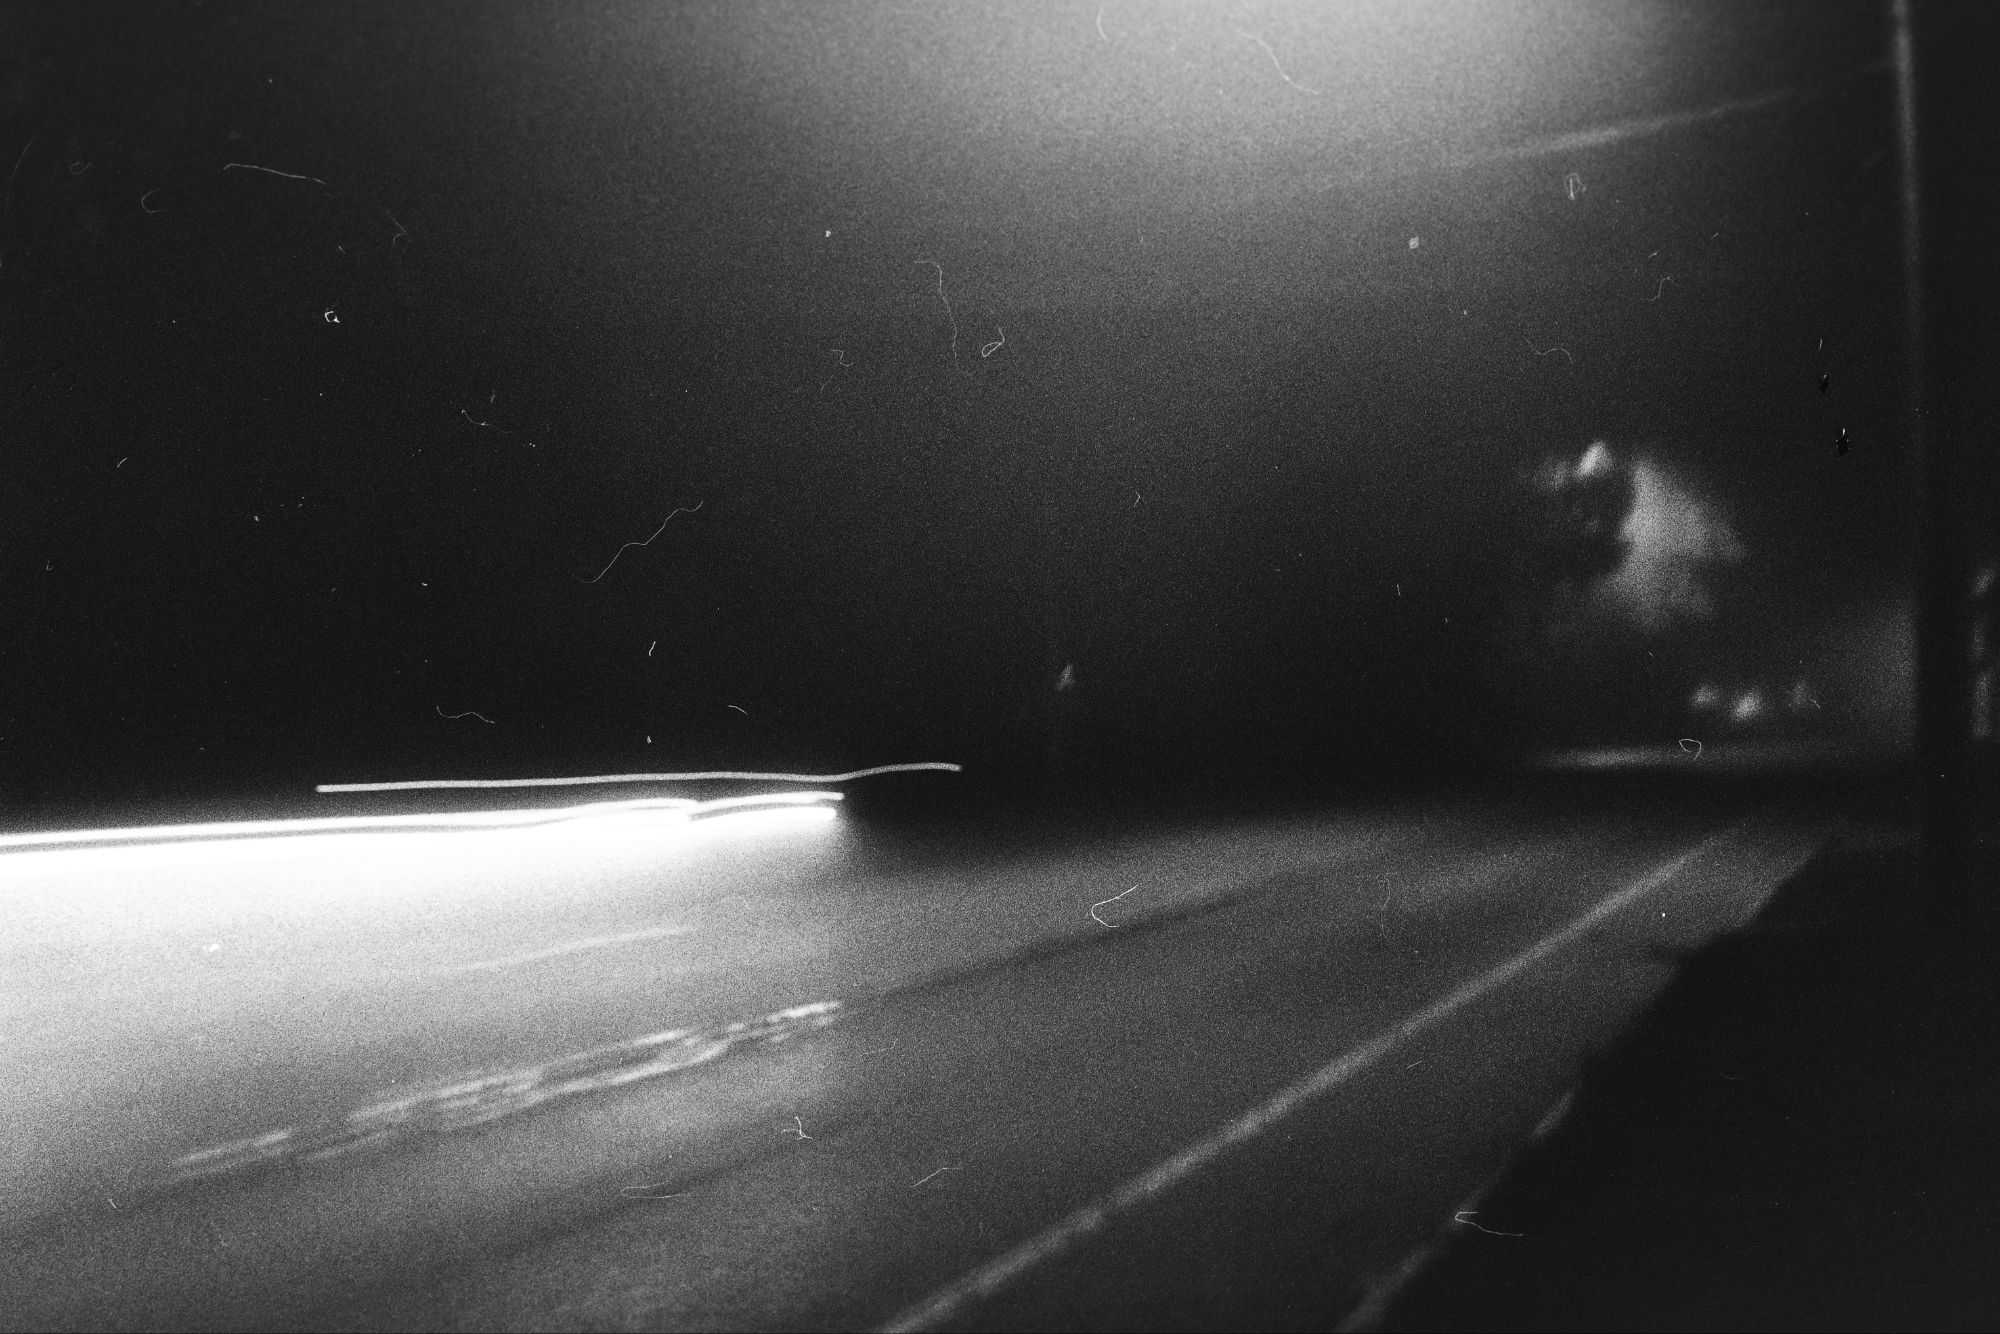
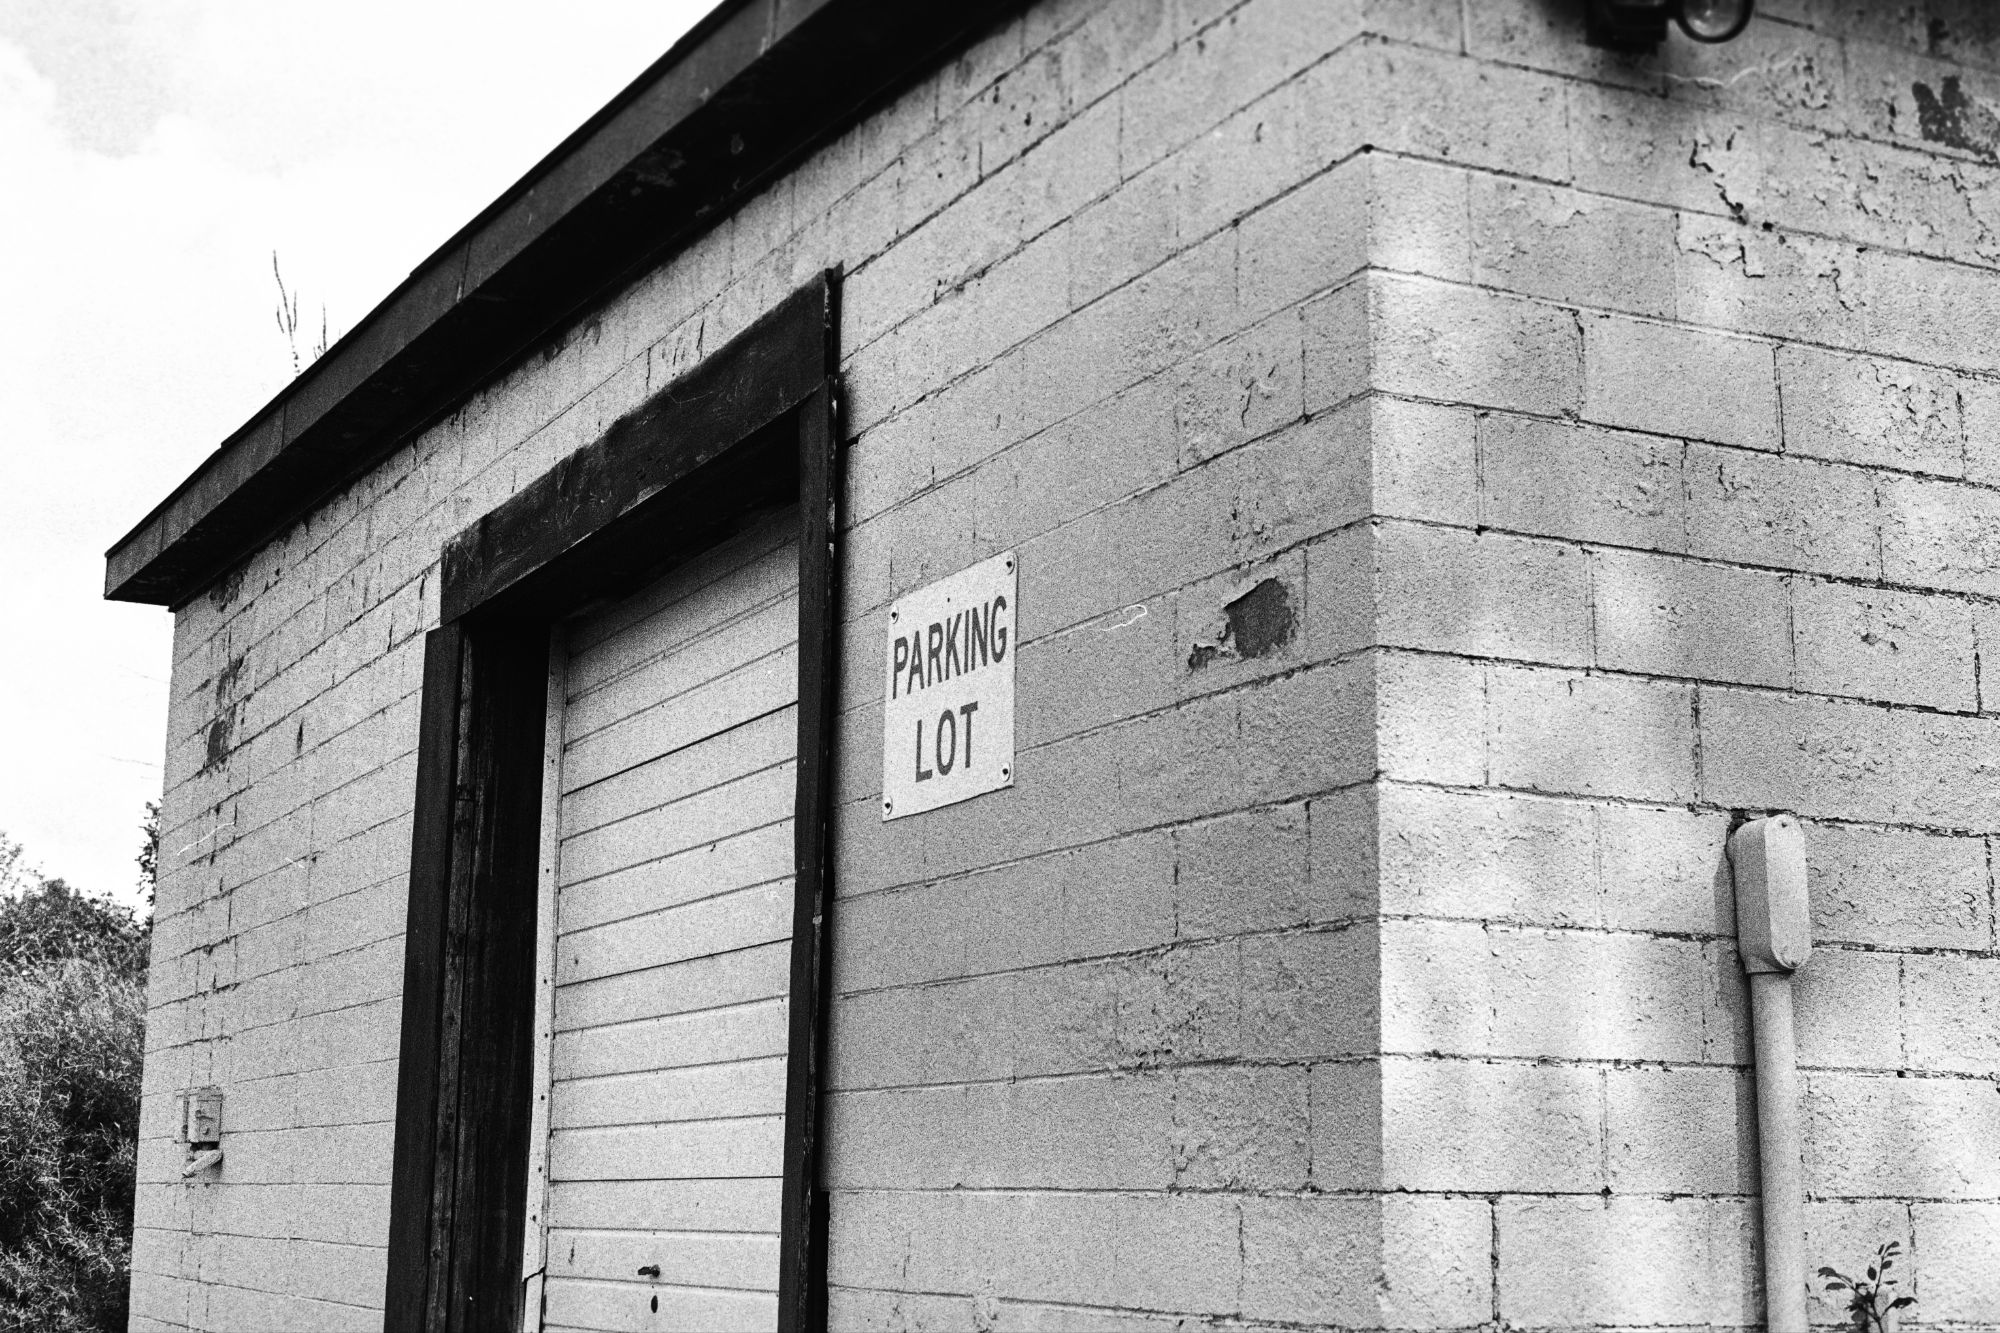
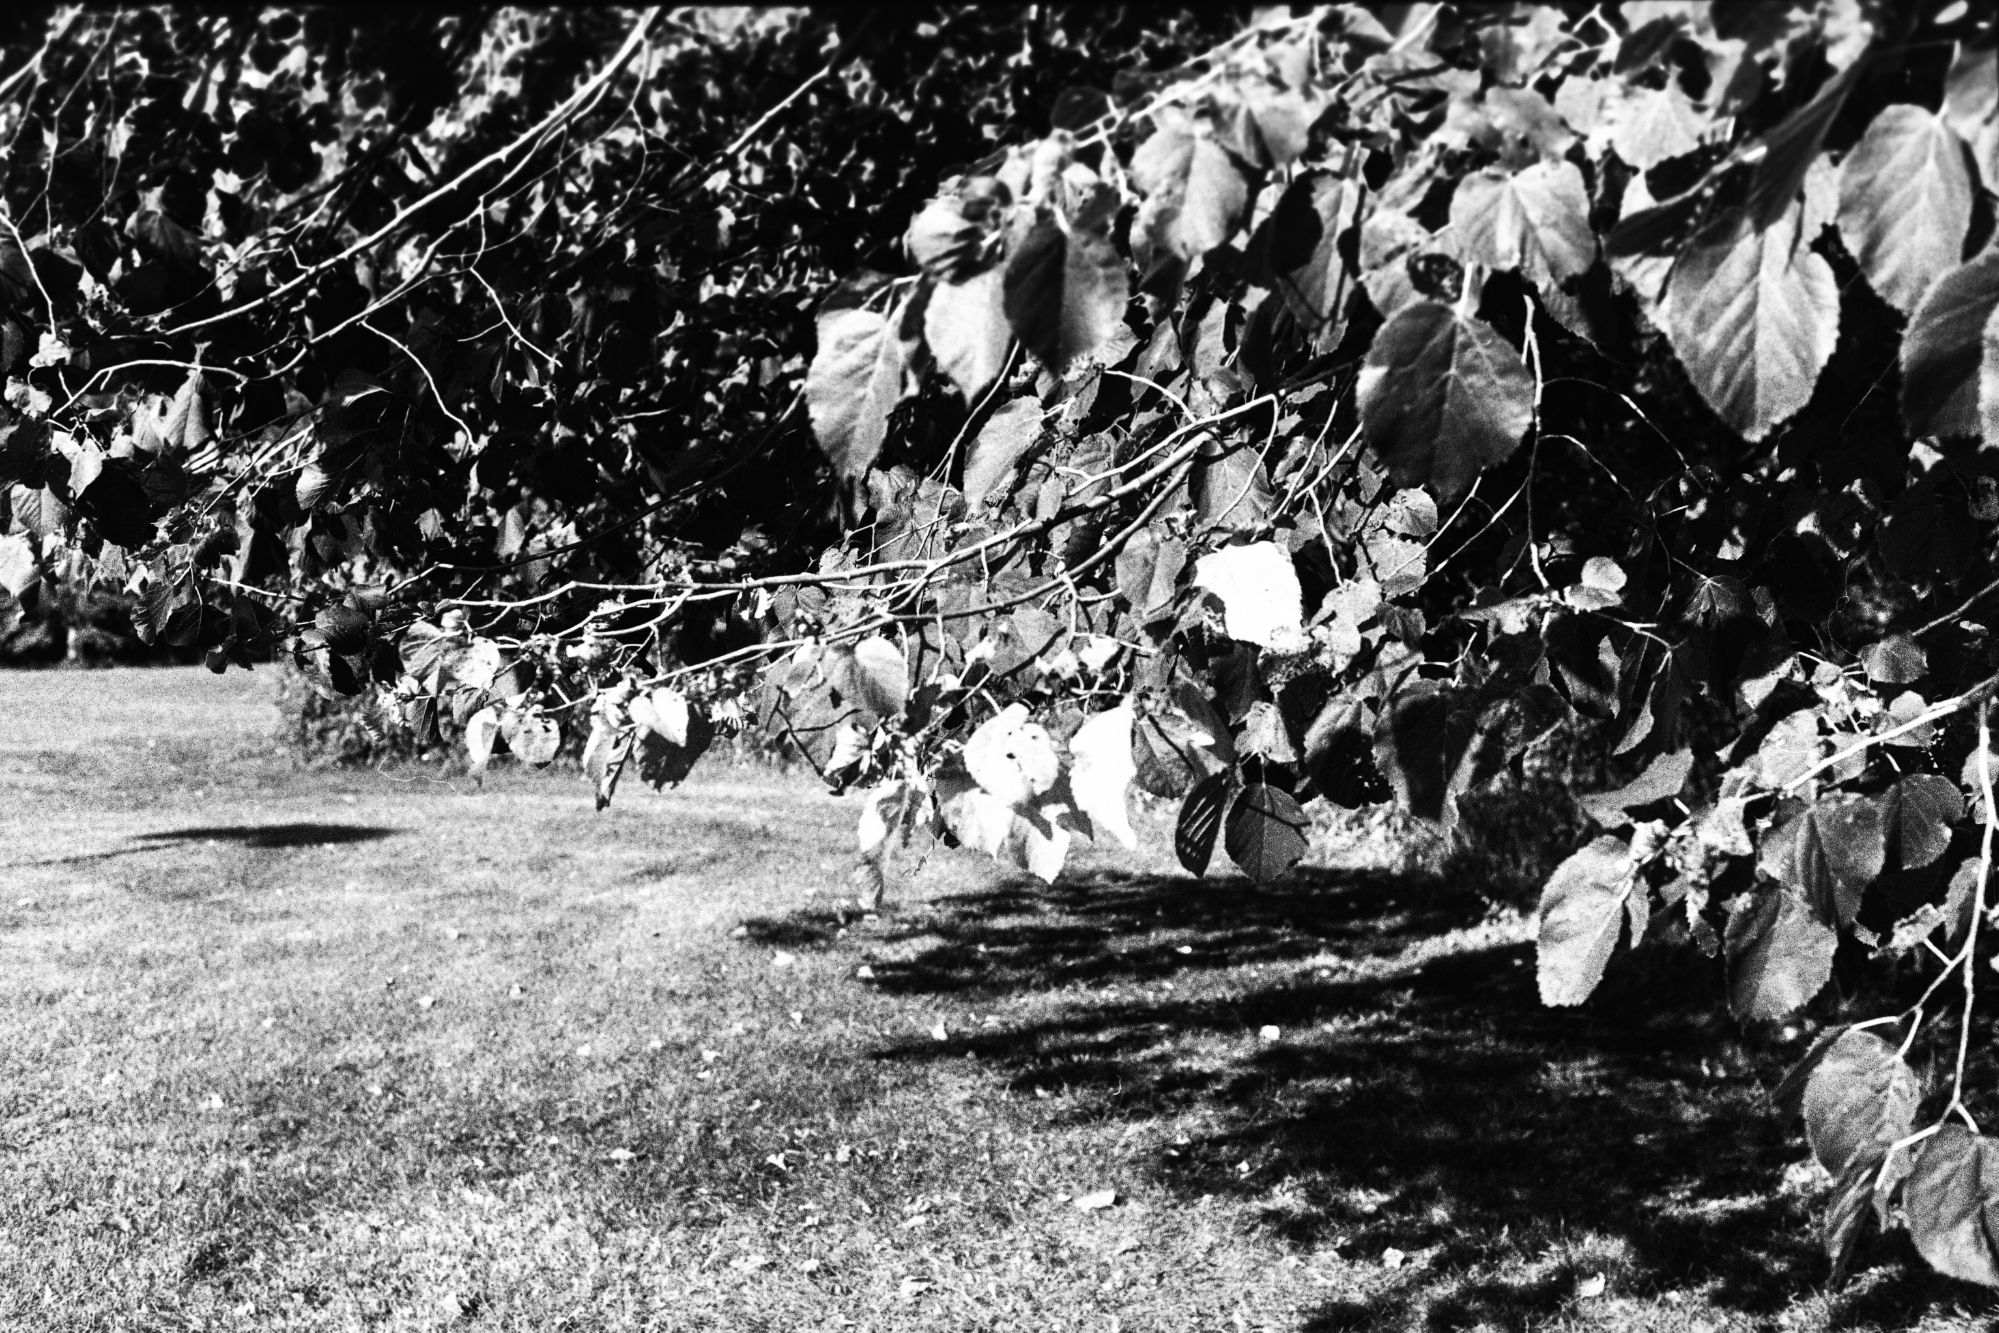
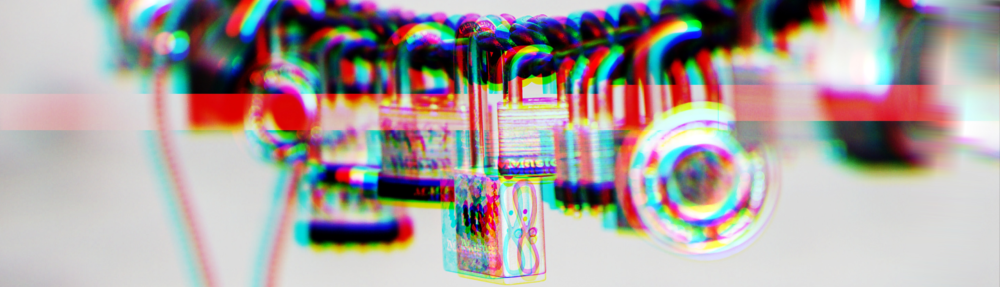
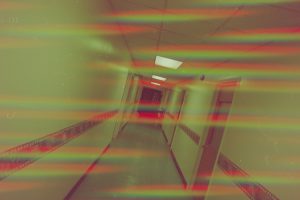
The second experiment was in double exposure. I first shot the roll against different color effects, partially wound it back up, then loaded it back in the camera to use as normal. I had issues before doing this with the frames not aligning, but this time I was able to nail it.
If anyone is interested in some experimental film, reach out! I have a couple other versions I’ve been working on and I feel that they’re out of the alpha stage and can roll into more beta testing.