MidJourney Version3 Comparison and Review

For the past two days I have been exploring and testing the new Version3 generational algorithm from MidJourney. This one’s goal is to improve accuracy of output and a new upscaler to remove distortions and artifacts. My initial experiments showed the potential of this new algorithm but it seemed to take away some of the “dirtiness” I came to like when beginning to work with MidJourney.

I decided to perform some experiments comparing the Version2 and Version3 algorithms and see how the Version3 can be tweaked to regain some of the “dirt” the V2 algorithm had that made it so special.

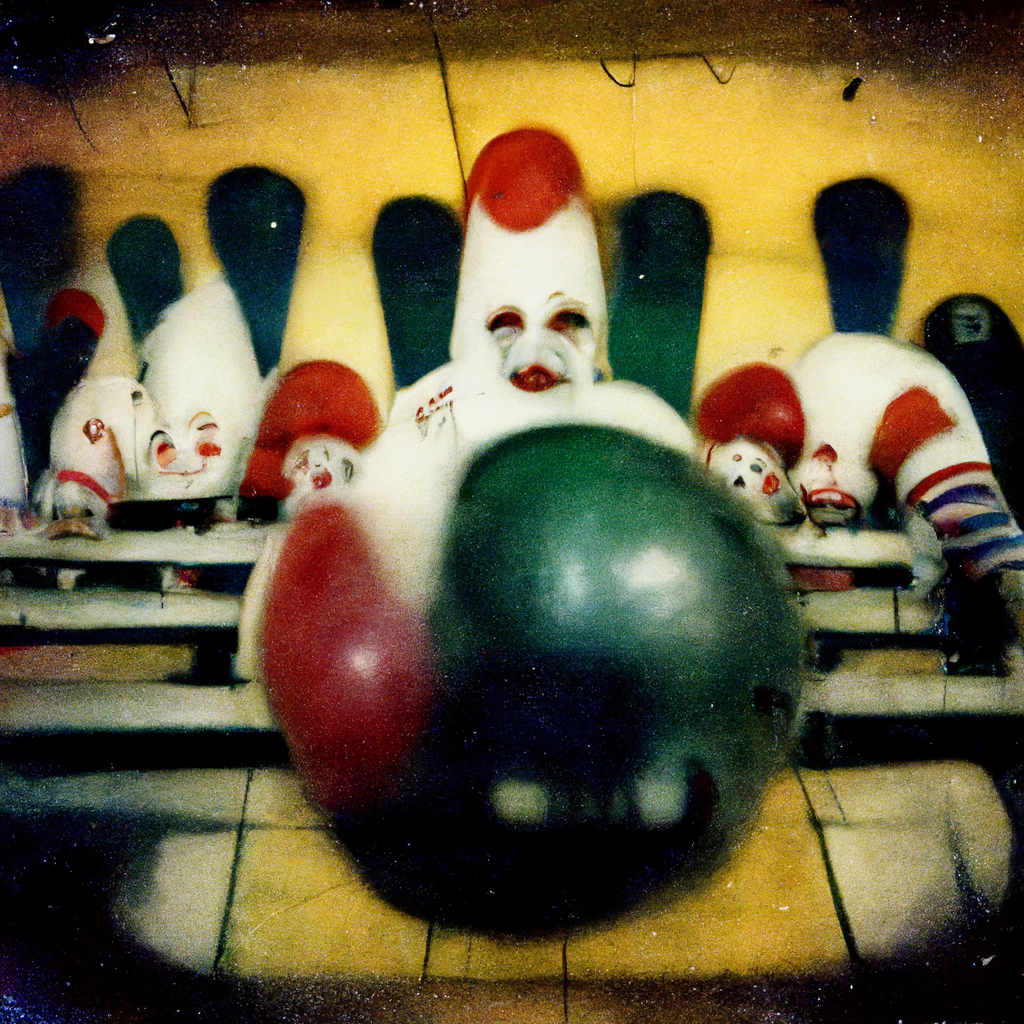
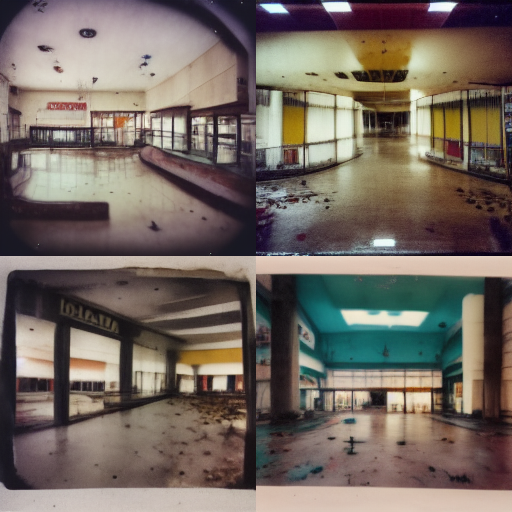
To start, I generated the inside of an abandoned shopping mall taken on a Polaroid. MidJourney V2 did a really good job of capturing that grit and small distortions that capture the aesthetic Polaroid film would have.

/imagine a polaroid of the inside of an abandoned mall –seed 0420 –v 2

This image will serve as the reference point I will try and recreate with the V3 algorithm. By setting a seed value, the various generations will be somewhat similar.

/imagine a polaroid of the inside of an abandoned mall –seed 0420 –v 3

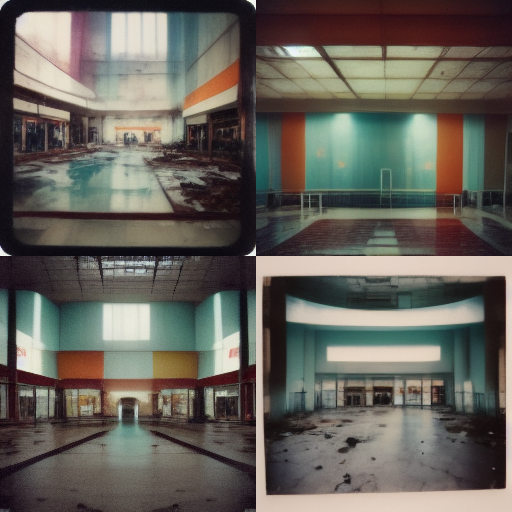
To start, I created a V3 generation using all the default settings. This is the most “neutral” of the V3 options in stylizing and quality. Comparing the two, it appears the V3 one is more “clean” in appearance as some in some cases the photo doesn’t look like a Polaroid at all.

/imagine a polaroid of the inside of an abandoned mall –seed 0420 –v 3 –stylize 5000

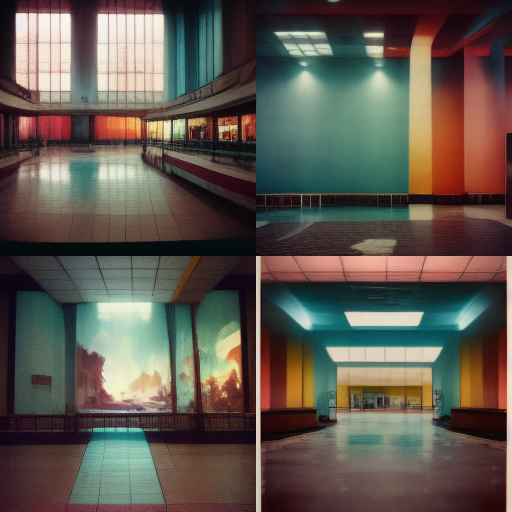
Bumping up the stylizing gives it a way cleaner look. There’s hardly any distortions in the sample renders and the subject of the images themselves appear too straight and perfect. This has started to drift away from an abandoned mall.

/imagine a polaroid of the inside of an abandoned mall –seed 0420 –v 3 –stylize 20000

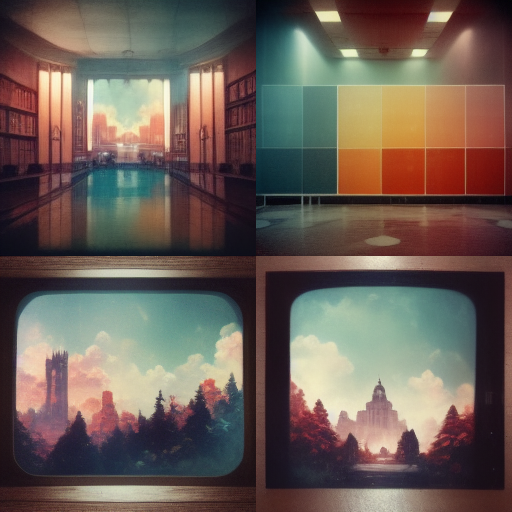
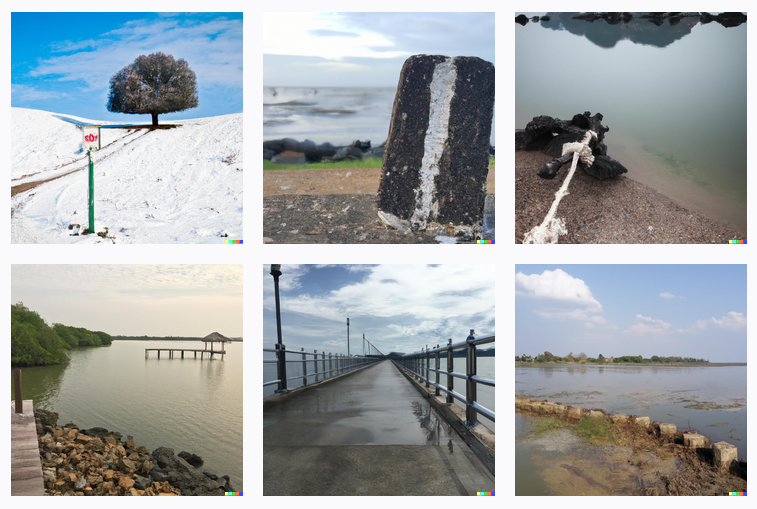
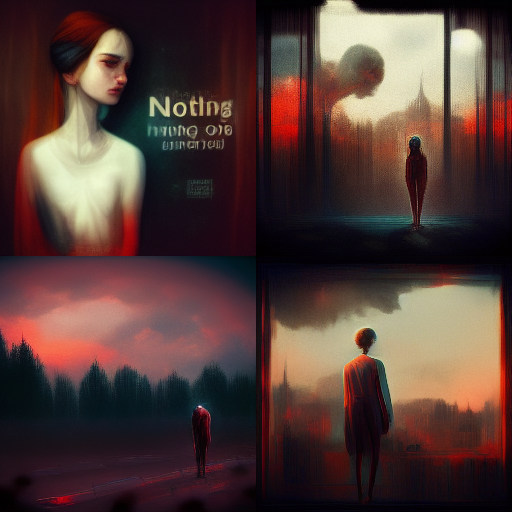
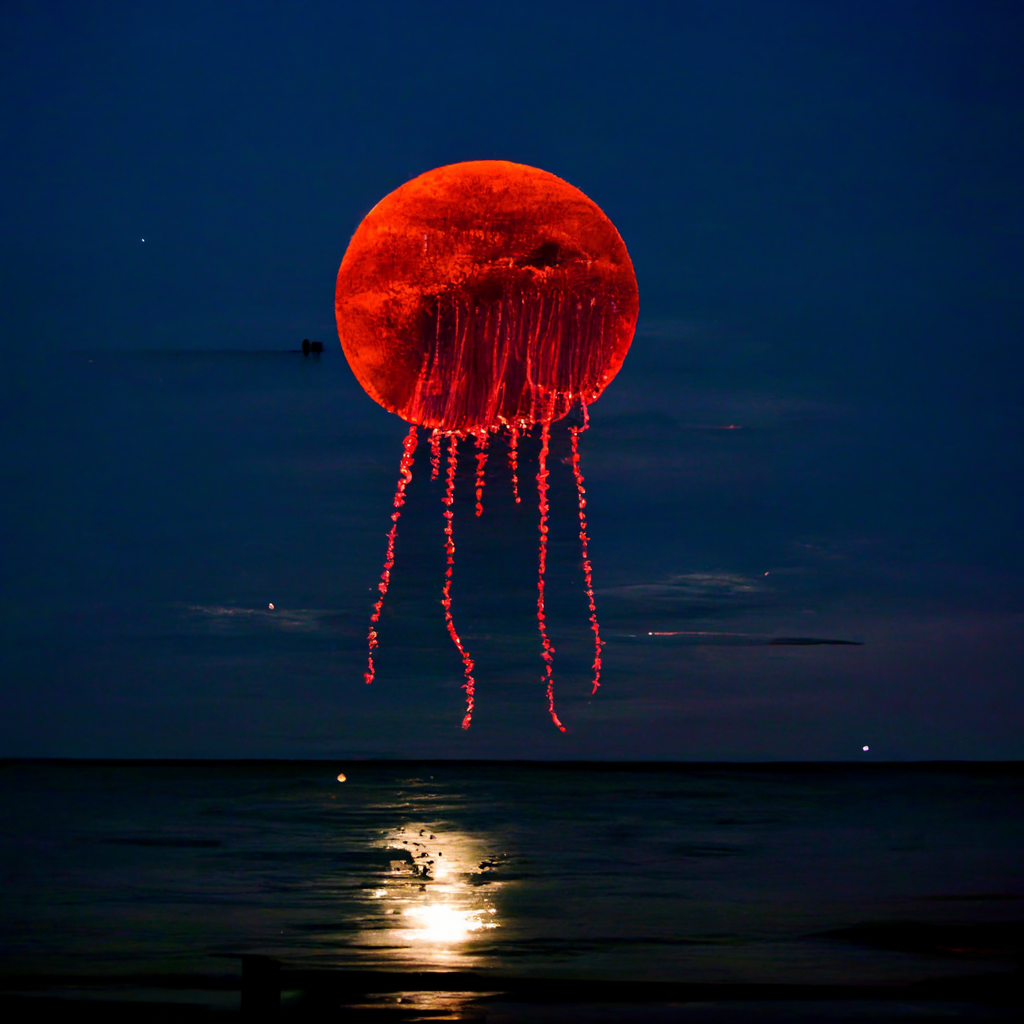
Pushing the stylizing further up generates more abstract renderings. As shown above, these are completely far from want a mall looks like. There’s also mountains, clouds, and other structures in the resulting images that don’t make any sense. When testing these high stylizing options on other generations, those features mentioned always show up. Regardless of what the subject is, multi-color clouds, mountains, and other fantasy objects appear.

/imagine a polaroid of the inside of an abandoned mall –seed 0420 –v 3 –stylize 625 –q .25

Next I decided to explore the quality options while keeping the stylized settings as low as possible. The lowest quality, .25, produced renderings closer to what the V2 algorithm did. The images just don’t seem that appealing as the quality is really low.

/imagine a polaroid of the inside of an abandoned mall –seed 0420 –v 3 –stylize 625 –q .5

Pushing the quality up a notch while keeping the stylizing the same got me much closer to V2 renderings. The proper aesthetic for an abandoned mall is there and the images do look like they were taken with a Polaroid. I’m happy with these, but there’s still some exploring to do with other options.

/imagine a polaroid of the inside of an abandoned mall –seed 0420 –v 3 –stylize 1250 –q .5

For the final rendering, I put the stylizing back to the default and still kept the quality down a bit. This produced images that are the closest I was able to come to the V2 aesthetic of a Polaroid of an abandoned mall. Not all the grit from V2 is there, but enough of the characteristic remain for it to be usable.

The Differences Between Dall-E and MidJourney

I was very fortunate to get access to two very powerful text-to-image AIs within a short period of time. I had been on MidJourney for a few weeks before my email to join OpenAI’s Dall-E 2 platform arrived. I honestly forgot I even applied to Dall-E so it was a very pleasant surprise.

Dall-E 2 is a much more powerful AI. It produces incredibly detailed renderings that could easily be confused with real life images. The accuracy is quite stunning and frightening at the same time.

Unicorn Loafers generated by Dall-E 2

While experimenting with different prompts, I decided to try the same prompt in both systems to see what images they would produce. From these experiments, I got the impression that MidJourney produces more abstract renderings whereas Dall-E is more literal. When using a single word prompt, like “nothing”, MidJourney produced images that invoked the emotion or demonstrated what the meaning of the word was; whereas Dall-E produced images that were literal examples of the word.

As you can see above, the differences are distinct. I know the AI’s were trained on different models, but with working with them it is important to know where their strengths lie.

If I want to create an incredibly realistic looking literal thing I will use Dall-E. If I want more abstract, concept art style rendering, I will use MidJourney to complete that task. Not to say either cannot produces images like the other, but I’ve found them to just be stronger at one thing and suit very different purposes.

My Journey with AI

The start of my journey into AI art starts with getting into digital glitch art. Back round April, I decided to take a leap into the realm of digital glitch art. I had been doing digital photography for a few years taking pictures at the local open Jam and being hired by a few artists to do promotional work. Glitch art really caught my attention and I dove as deep as I could into the community with ending up on Rob Sheridan’s Discord server.

He was making several posts about the Volstof Institute and talked about how it was made with an AI called MidJourney. I quickly signed up for the beta and within a few weeks I received the invite to the Discord server and I was on my way to exploring the possibilities that await. I received access in late May

It was like drinking from a fire hose. There was so much happening on the Discord with people collaborating and all of us figuring out how to use it. My first images were kinda meh, but I started to get an understanding of how best to use MidJourney and get the results I want.

Early attempt at generating

After getting to know MidJourney better and turn out the renderings I was looking for, the usefulness and just how powerful MidJourney was came to light. Probably one of the strongest use cases for these text-to-image AI’s is to rapidly prototype and produce concept art. The renderings from MidJourney are rarely perfect, but they are able to capture the style and concept trying to be expressed. This technology is incredibly powerful and will change this industry fundamentally.